
To add a Block:
- In the right Preview Pane, mouse over the Row (green border) where you want to add a new Block element
Then, hover over any existing Block (grey border) in the Row and click the black plus (+) icon at the bottom of the Block. This will open the Blocks element list in the left sidebar menu.
- Here you will find a variety of Blocks that you can add to your course pages to further customize your templates.
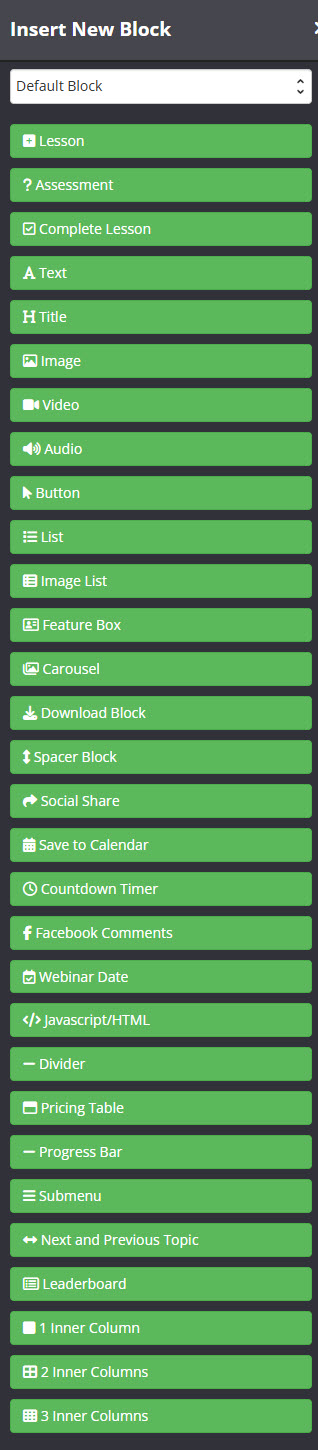
- Select the Block element you want.
Immediately the new Block will appear underneath the Block element you clicked on in the Preview Pane and the Block settings will appear in the left sidebar menu. - For details on how the different Block elements work and how to set them up, simply click on the relevant link below:
+ Lesson
+ Assessment
+ Complete Lesson
+ Text
+ Title
+ Image
+ Video
+ Button
+ List
+ Image List
+ Feature Box
+ Carousel
+ Download Block
+ Spacer Block
+ Social Share
+ Save to Calendar
+ Countdown Timer
+ Facebook Comments
+ Webinar Date
+ Javascript/HTML
+ Divider
+ Pricing Table
+ Progress Bar
+ Submenu
+ Next and Previous Topic
+ 1 Inner Column
+ 2 Inner Column
+ 3 Inner Column
To edit an existing Block
- Click on the Block in the right Preview Pane.
The Settings section for that Block will appear in the left sidebar menu.
To move a Block to a new position
- Hover over the block, then click the crosshairs icon in the block’s top-left corner and drag it to its new position. Blocks can be moved to any row on a page.
To delete a Block
- Hover over the block and click the red trash can icon to the right. A warning will appear: “Deleting cannot be undone! The block and all its settings will be deleted. Continue?” Click DELETE to proceed.
