
Now that your Course Portal and your first Course have been setup, your next step is to add content to your course.
Creating Course Pages
- Go to Members Area and then select Online Course in your left sidebar menu.
Once the Online Courses dashboard opens, click on the Course icon or Content (paper icon) of the course you want to add your content to.
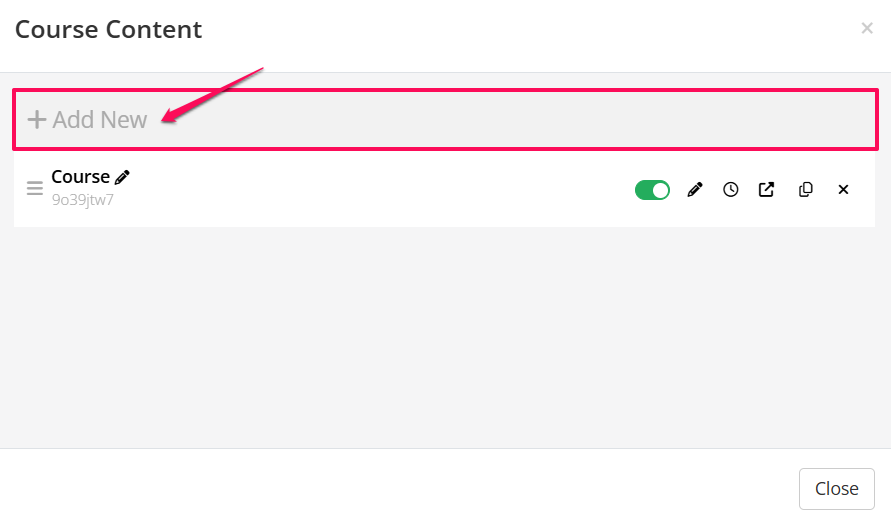
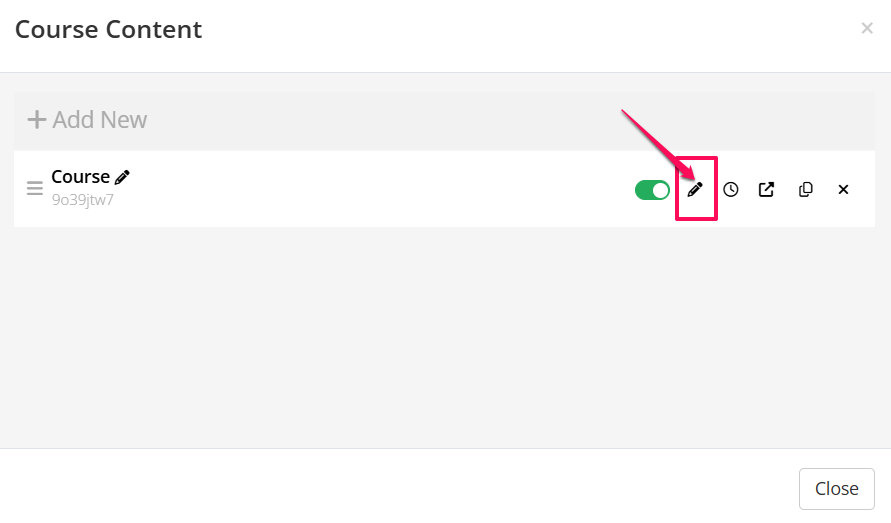
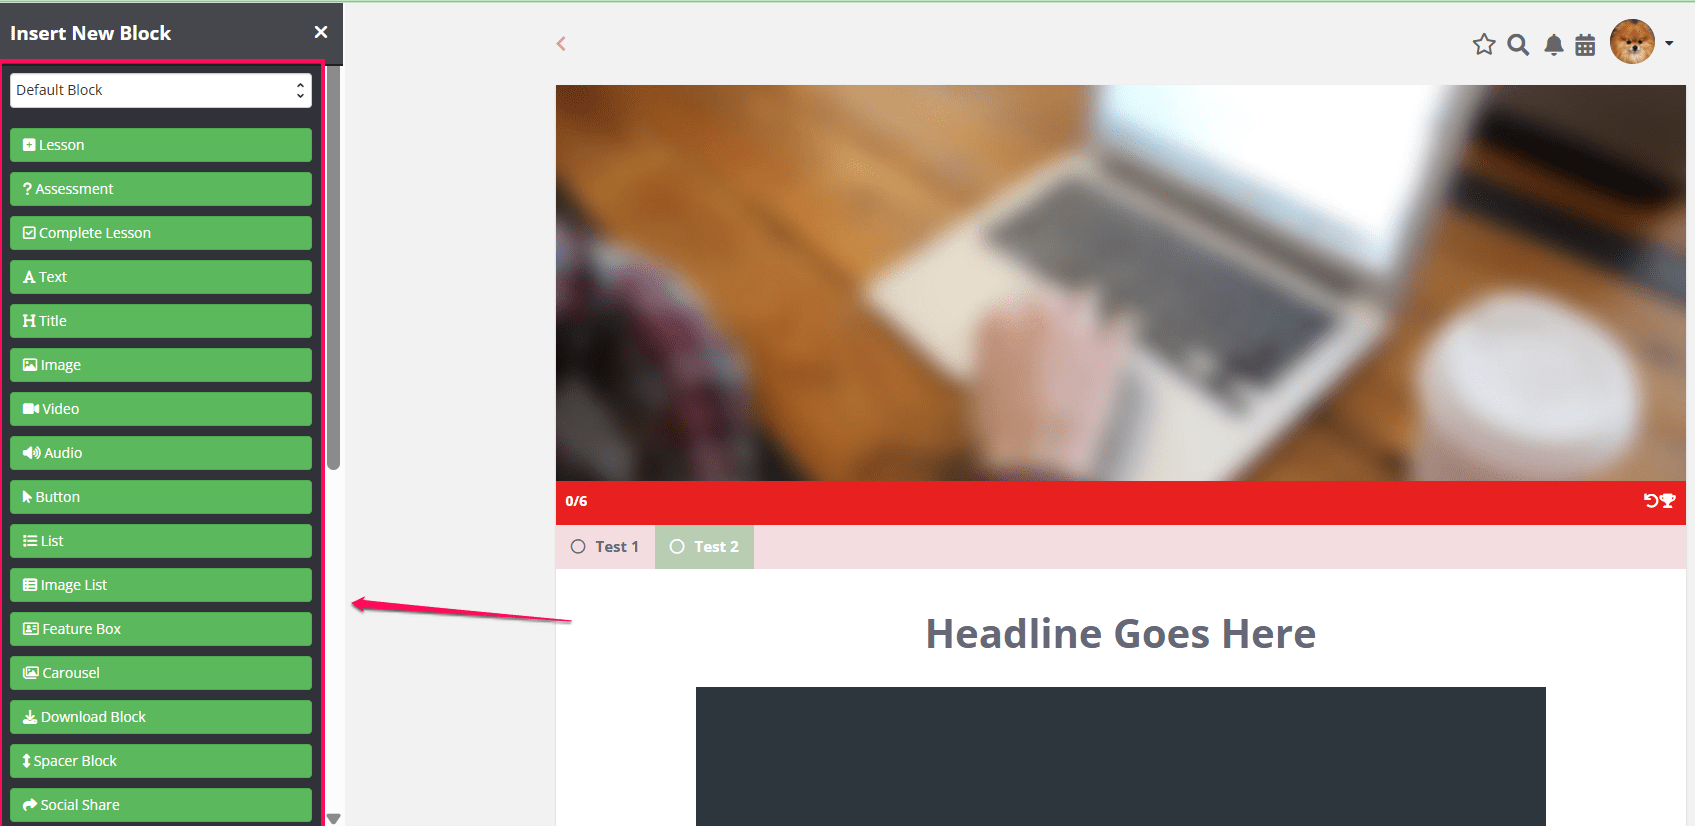
- The Course Content pop-up will open. Click +Add New to add course content.
- In the course content settings, name the course page. Ensure the Course Page option is selected.
- Click on +Add.
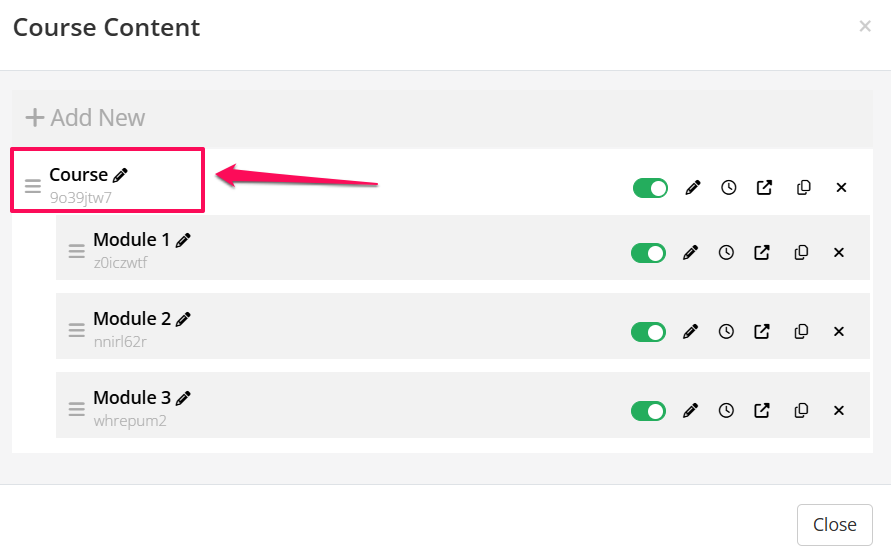
A new course page slot will appear in the Course Content table.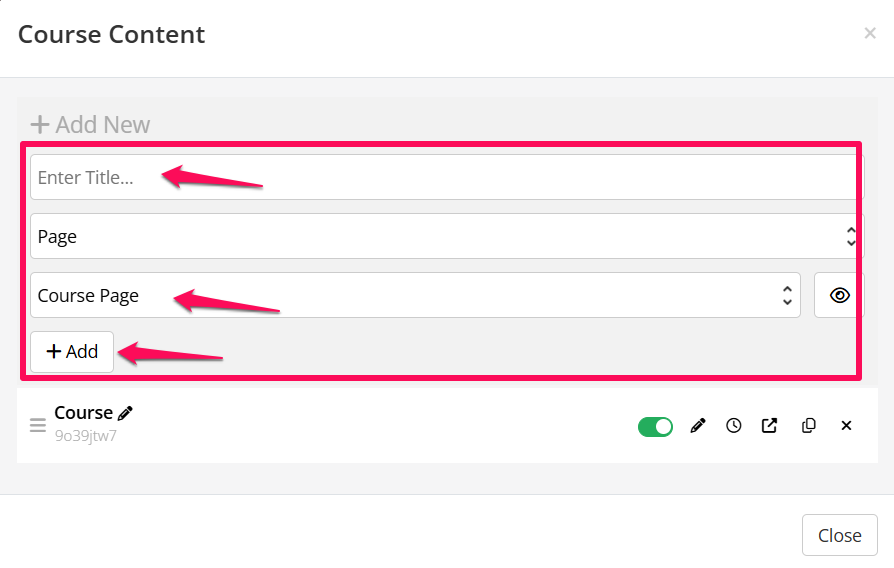
Ensure this toggle is set to ON, when you are ready to publish this page.
If publish page is OFF, the course page will not appear in the Navigation bar,
however a member with URL could access the Course page IF they have access to the course.

Course Navigation
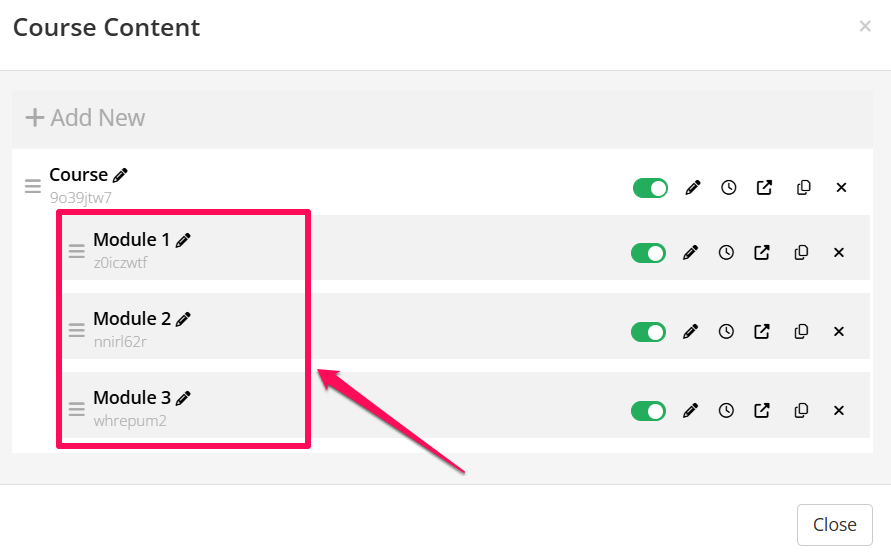
Course Content pages have 2 levels i.e. Level 1 and Level 2.
A Page level is determined by the hierarchy (position) of the page in the Course Content pop-up. By default, all Course pages start with level 1 hierarchy.
If you drag-and-drop a page underneath a level 1 page, the new page will get level 2 status and become a sub-menu item in your course’s navigation menu.
- Level 1 page
- Level 2 pages
Based on the above image, the course page navigation will look like this.
Also, the current page where the user is viewing will be highlighted as well.
Adding Content to Course Pages
- Once your Course page has been set up, click on the Edit (pencil icon).
- In the next screen, to the left, you will see the Course Page Settings. For an overview of this these settings, simply visit How to edit a Course Page template
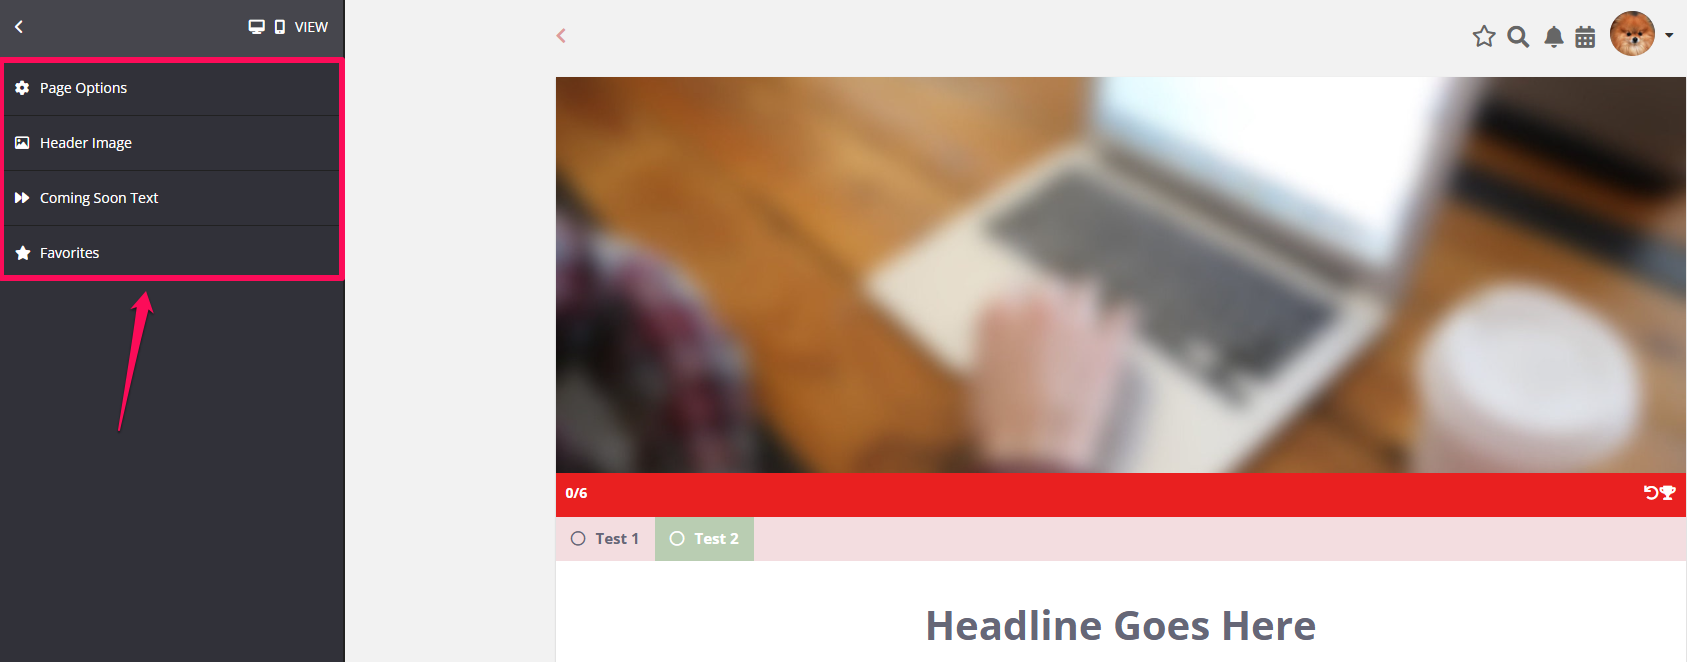
- To your right, you will see the preview pane and demo content that can easily be replaced by your content
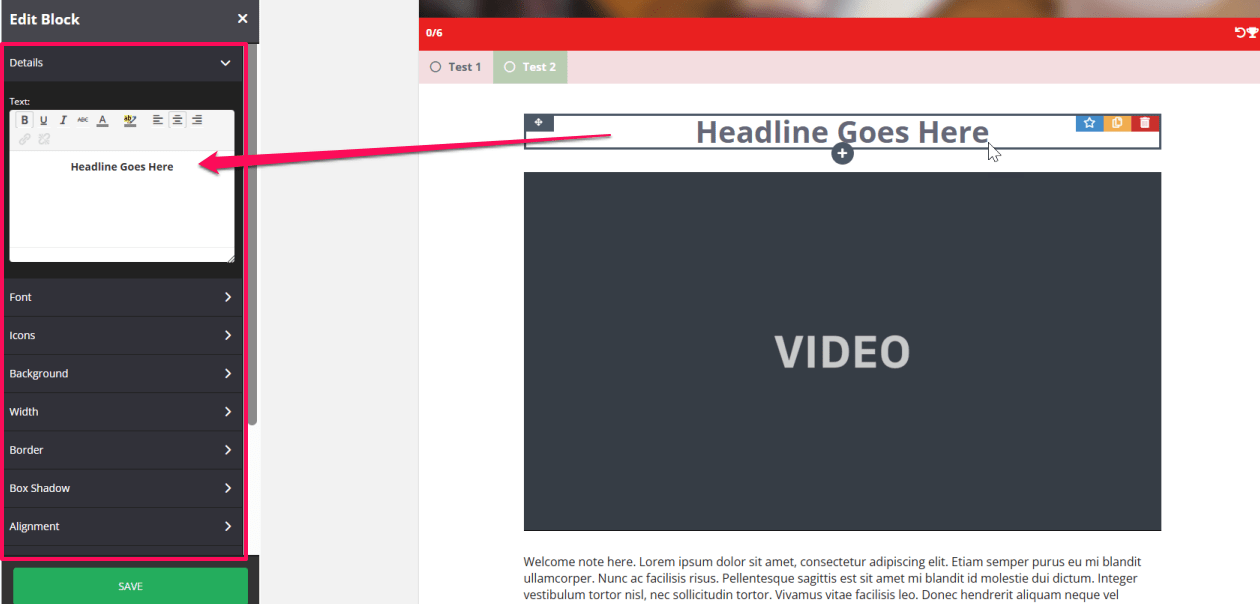
- To get started, you can either click on the element placeholders in the Preview Pane.
- This will open settings menu for that element in the left-sidebar menu.
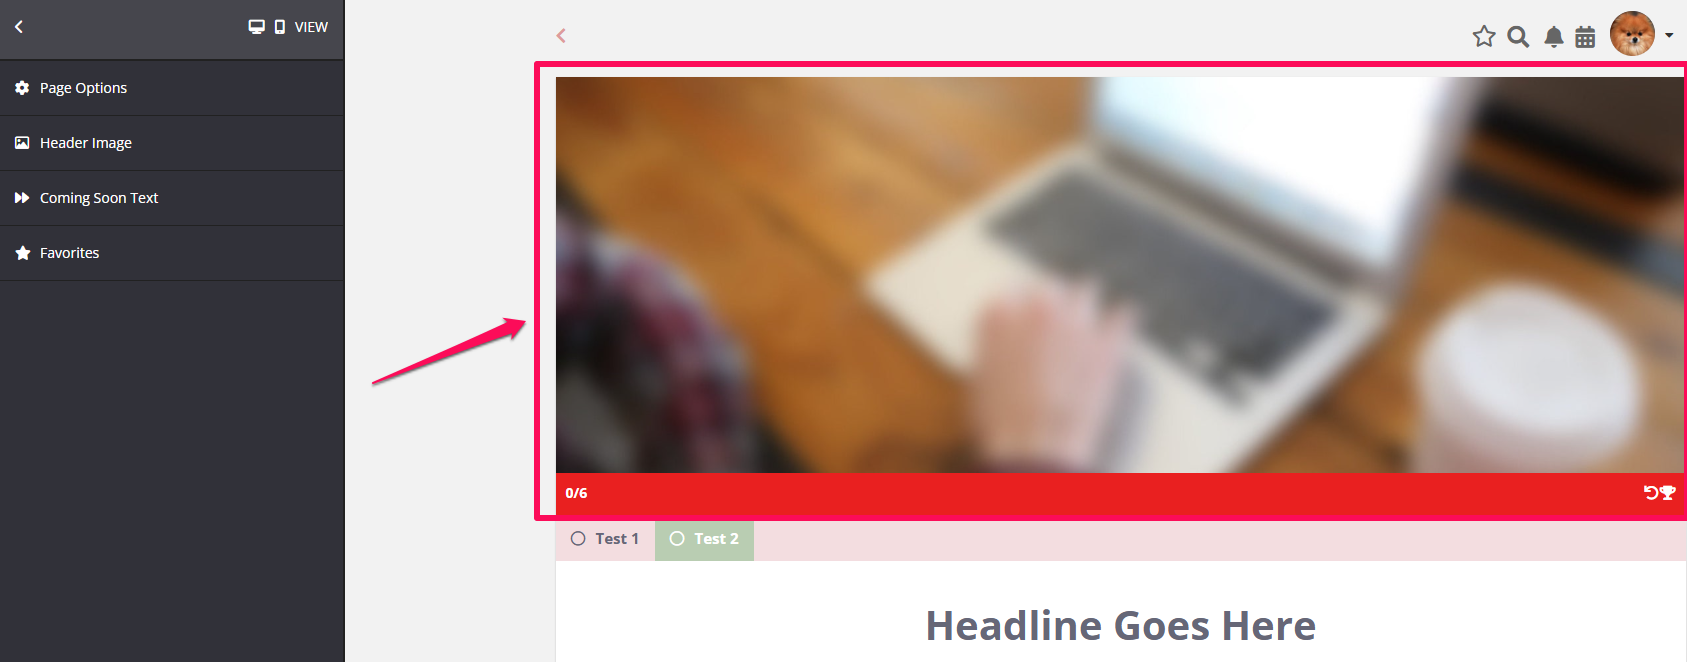
The header image for your course page can be edited, but not removed.
However, all other elements on the course page are 100% customizable. To find out how to add additional elements to your course pages and edit them, simply visit:
Working with Blocks: Course Pages
Other Editing Options 
- To edit your Course page, click on the Edit button.

- To set up a drip feed on your Course page, click on the clock icon.

- To view your Course page in a new tab, click on the View button.

- To duplicate your Course page, click on the orange Duplicate button.

- To delete your Course page, click on the Delete button.
