With every course you setup, you can also add a Live Event Course page, this enables you to host live Q & A or Coaching sessions directly from each course.
Adding a Live Event Course page:
- Go to Members Area in the left-sidebar menu, then choose Online Courses.

- Click on the Content button of the course you want to edit.

- In the next screen, click on the +Add New Page button.
- In the fields that appear, add a name for your event. Select Live Event page from the drop-down menu then +Add.
A new Live Event Course page will appear at the bottom of your other course pages.
Editing the elements of your Live Event page
- Click on the Edit button (pencil icon) of your Live Event page.

- This will open the Live Event settings fields in the left-sidebar menu.

- To your right you will see all the default elements of your Live event page. All elements can be edited by clicking on them directly or selecting the relevant option in the left-sidebar menu
These are the available settings to control the page: 
Page Options > More Options
- Hide Nav Bar
If this option is enabled, the navigation bar will be hidden on the course page. - Show Coming Soon
If this option is enabled, the Coming Soon text will be displayed all the time.
It’s recommended if you don’t want to display the content on the page.
NB! This option is unconditional. If there’s a drip feed on the page, it doesn’t matter what options are set. Therefore, the Coming Soon text will still be displayed. - Redirect Page
This will let you redirect members that reach this page to a different page that you can choose from the drop-down. For Redirect Page in-depth instructions, click here.
You can also set up a delay for this action, depending on what best suits you.
Under Audience: if you enabled this and selected the audience booster you have created, you can redirect users to different pages based on the audience group they belong to.
- Redirect based on country
This allows you to redirect visitors to a different URL based on their country when they try to access a specific page.
To learn more about this feature, visit How to redirect users to a different URL based on country using Page Options - Limit chat to 250 characters
This option will allow you to control the number of characters that can be entered in the question box. Once enabled, they can only enter a maximum number of 250 characters. - Enable Social Notifier
The Social Notifier is a pop-up notification tool, that appears on the bottom-left corner of your pages as users are visiting your pages. For Social Notifier in-depth guide, click here.
- Access Based On A Tag
This option will allow you to provide access to your members based on the tag selected in the settings. For in-depth guide, click here.
- Page Landing Action
Allows you to apply a specific action as users land on a certain page.
To know more about this feature, visit How to use the Page Landing Action Feature - Facebook Event
This allows you to track and add different events to send to Facebook; simply edit your page.
To learn more about this feature, visit Integrating with Facebook Conversion Pixel
Setting up your Live Event
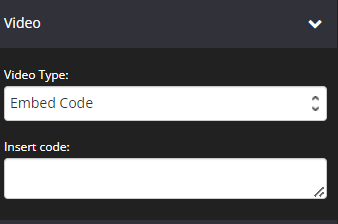
- Click Video, and you have 3 options: YouTube, Twitch or Embed Code.
YouTube
If you select YouTube, you need to create a Live Event in your YouTube channel.
For more info on how to setup a Live Event using YouTube, go to
Hangouts On Air with YouTube Live.
Once done, copy the Video ID for your live event and paste it in the YouTube Video ID field in the left-sidebar menu.

Twitch
If you select Twitch video type, insert the Stream ID (the name of your channel).

Embed Code
If you want to use Facebook Live, Twitch, Vimeo streams or even Zoom instead of YouTube, select Embed Code.
Create a live event on your site, then, get the Embed Code.
Paste the code on the Insert Code field.
Once you added your video, click SAVE CHANGES button.
- You can also add Starting Soon & The Event is Over custom images, which will display when Not Started, Closed and Replay options are selected in the Event Status section.
The image dimensions are 710 x 400px (JPG or PNG format)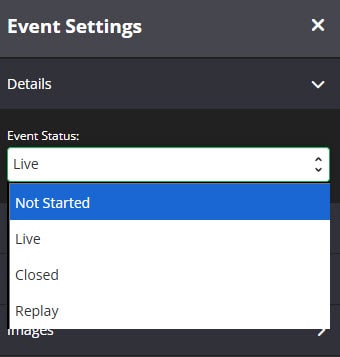
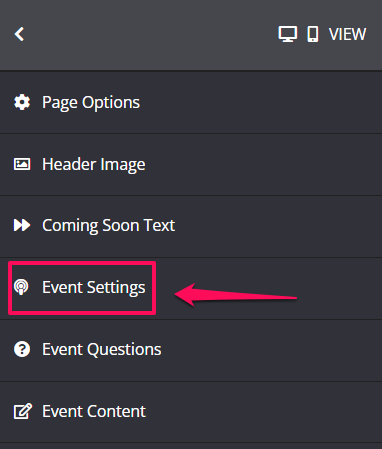
- Go to Event Settings, in left-sidebar menu.
- Upload the relevant images under the Not Started Yet Image and Close Image sections.
Click Browse if you want to upload from your computer,
or click Select from gallery to use image you’ve recently uploaded.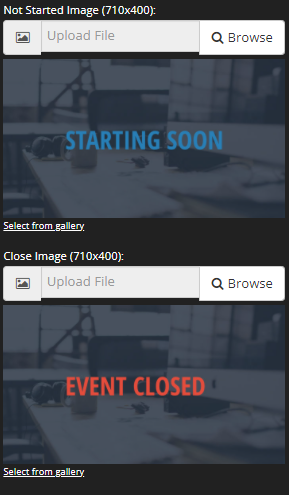
Event Status Action
TIP! These settings are optional and are not required in order to run your Live Event. If you do want more information on these settings, simply scroll down to the bottom of this page.
Controlling your Live Event
- When you are ready to go live, go to Event Settings in left-sidebar menu
- Under Event Status click on the drop-down menu and select Live.
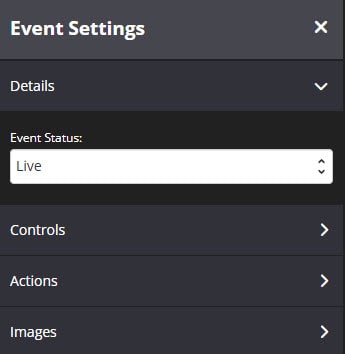
That’s it, your event page will immediately update with the live stream.
Managing Questions during a Live Event
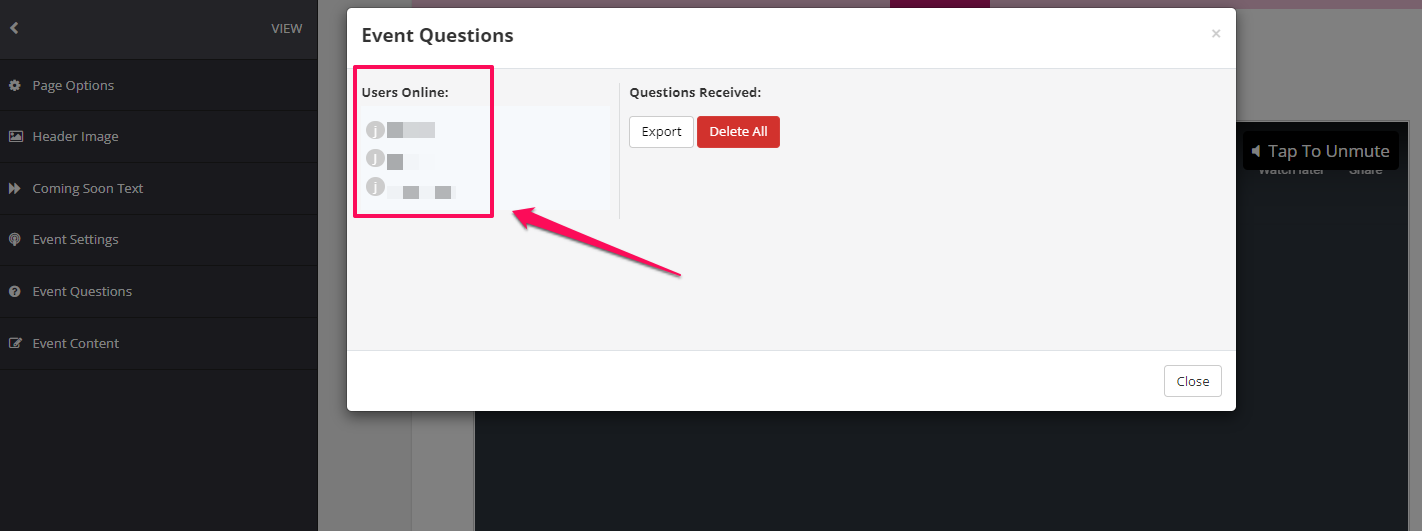
- Back in the Live Event settings dashboard and then go to Event Questions in the left-sidebar menu.
- In the pop-up window that appears, you will see the list of questions posted by your customers. This window is live and will automatically update with new questions as they are posted by customers.
- You will also see the list of the online users.
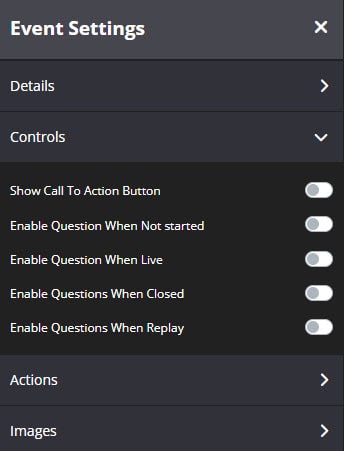
- You can also control when customers can submit questions. Simply go to Event Settings, click on Controls, and select one of the following options.
Header Image
You may upload your header image from your gallery or computer and make sure that the size is (2260×800). You may also hide it, simply switch the toggle ON on the Hide Item. 
The Headline
This is where you can edit the headline of your Live event. You may also hide it, simply switch the toggle ON on the Hide Item. 
The Subheadline
This feature will allow you to put more text or subheadline under your Headline. You may also hide it, simply switch the toggle ON on the Hide Item. 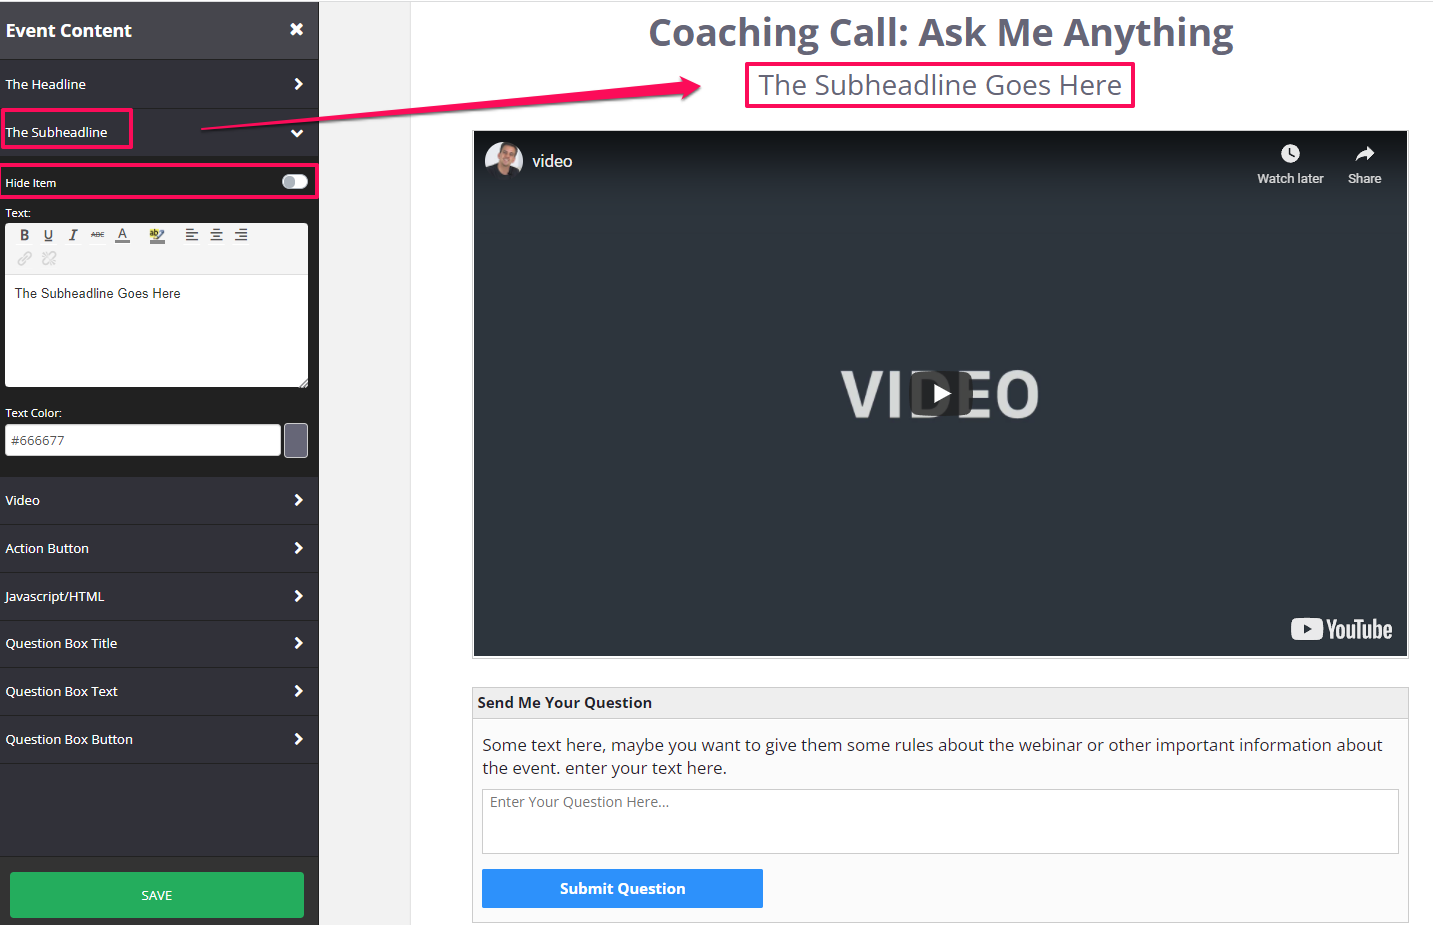
Display “Call To Action” button during Live Event
To promote a special during a live event, use this feature.
You will be able to set up two buttons from which to choose during the Live event.
To activate this feature
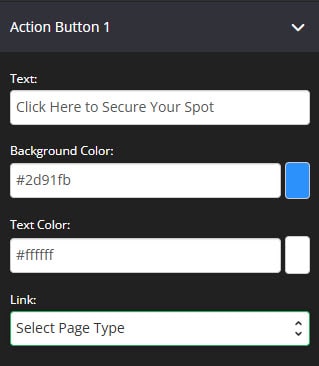
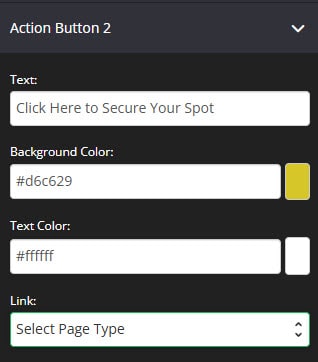
- In Event Content, click Action Button 1 or 2 in the left-sidebar menu.
- Add your custom text & color for the Action Button.
- Select a page type from the “Link” dropdown menu, or enter the special offer’s URL.
- Click on SAVE.
Now you are ready to run this promotion during your Live Event.
To do this:
- Click on Event Settings in the left-sidebar menu.
Under Controls, switch the toggle on Show Call to Action Button option.
You may choose which button to show.
The Button will be enabled in your page.
Once done, click on SAVE.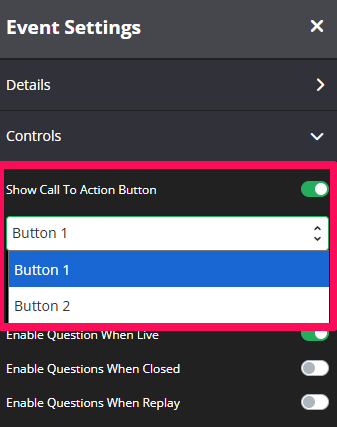
The Call to Action button will immediately appear on your Live Event page.
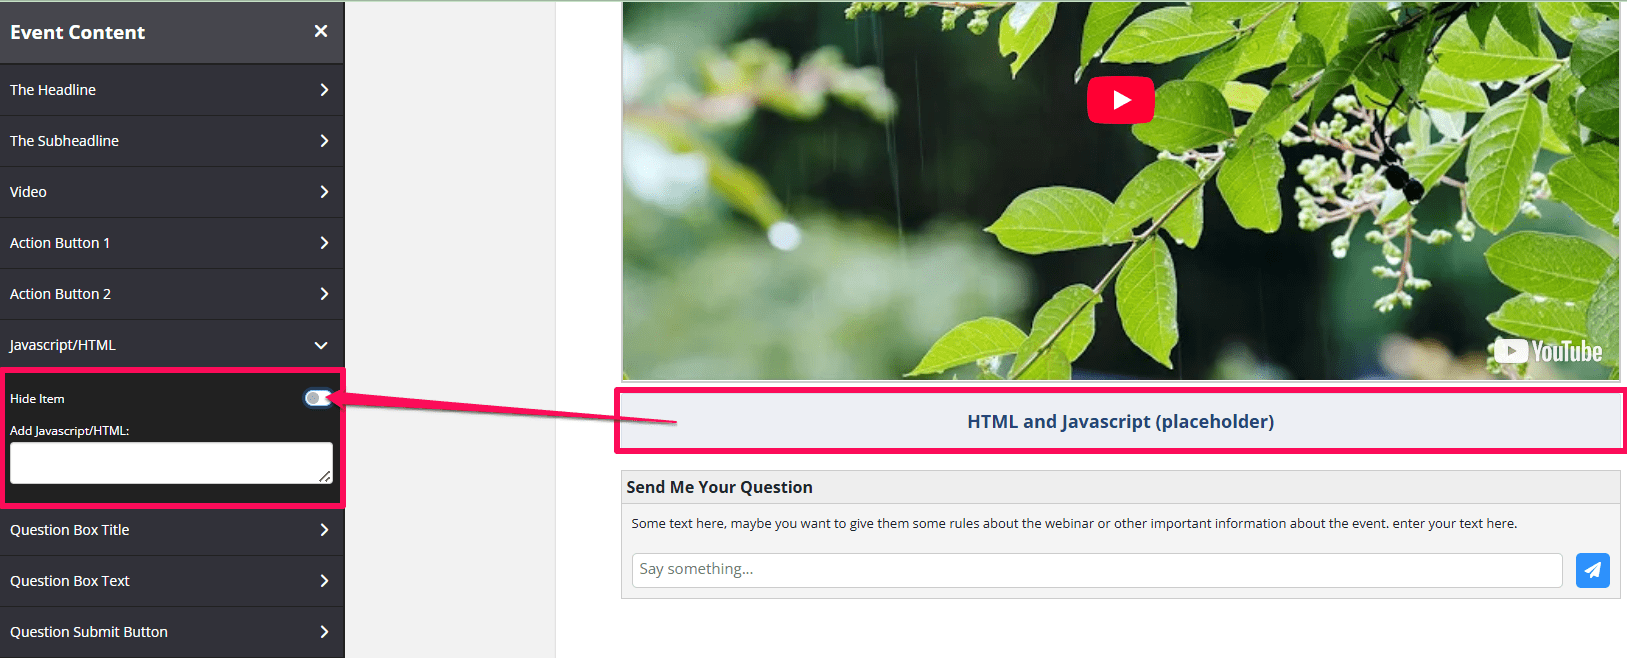
JavaScript/HTML
If you want to have your own custom code, it will appear right above the question box. To hide it, switch the “Hide Item” toggle on.
Tracking Event Status Action
Enable the Event Status Action feature in Event Settings to track who attended the live event, viewed the Special buttons, and stayed until the end. This can be done via webhook URL or by applying tags from your integrated email system.
Send Webhook
If you choose Webhook, a webhook URL field will appear under the following fields.
- Simply add the relevant Webhook URL you’ve setup for each field.
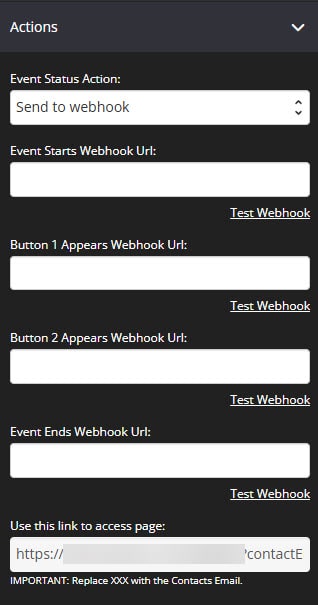
- Click on SAVE.
Apply Email System Tag
If you are using one of the listed email systems (indicated below) that have deep integration with KLEQ, then your email system tags will be available for selection. 
For example, if you choose Apply Infusionsoft Tag, an Infusionsoft tag drop-down with your custom tags will appear under the following fields:
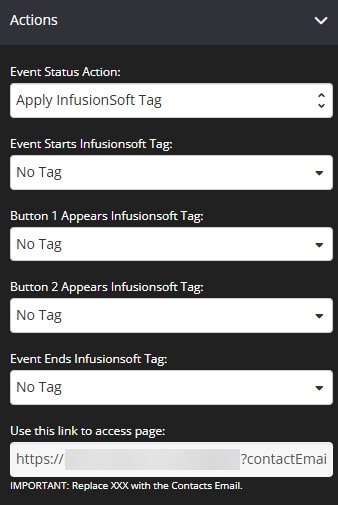
- Simply select the relevant tag for each field
If you need to create a new tag, scroll down to the bottom of the drop-down and click on Create New Tag. Once done, select the tag. - Click on SAVE CHANGES and you are set.
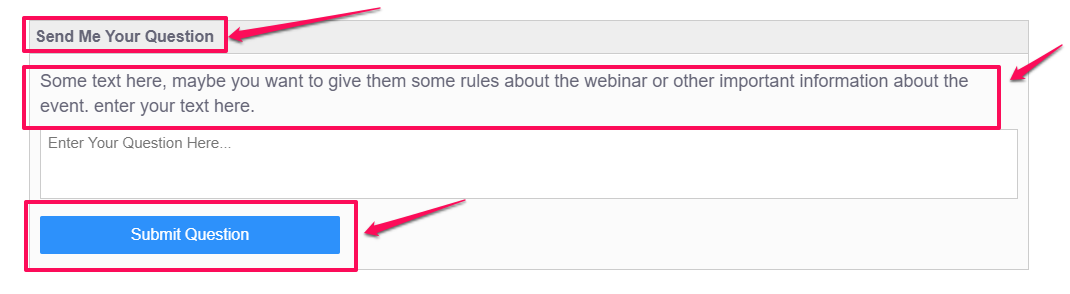
Question Box Title, Question Box Text and Question Submit Button

Your viewer will be able to see whatever you have set up on your Question Box.
-
- Question Box Title – change the title for your question box.
- Question Box Text – change the text inside of your question box.
- Question Submit Button – change the text color and background color of your question submit button.
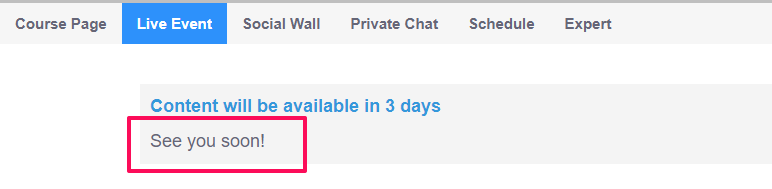
Coming Soon Text
If you have applied a drip feed on your Live event page, they will only see the “Coming Soon Text” until they reach the days that you have set up. For more information about this, please click here.