
This feature will allow you to send events to Facebook via API.
To Get Started:
- Go to Settings and then select Integrations.

- Under Other Systems, click on the Facebook Conversion Pixel.
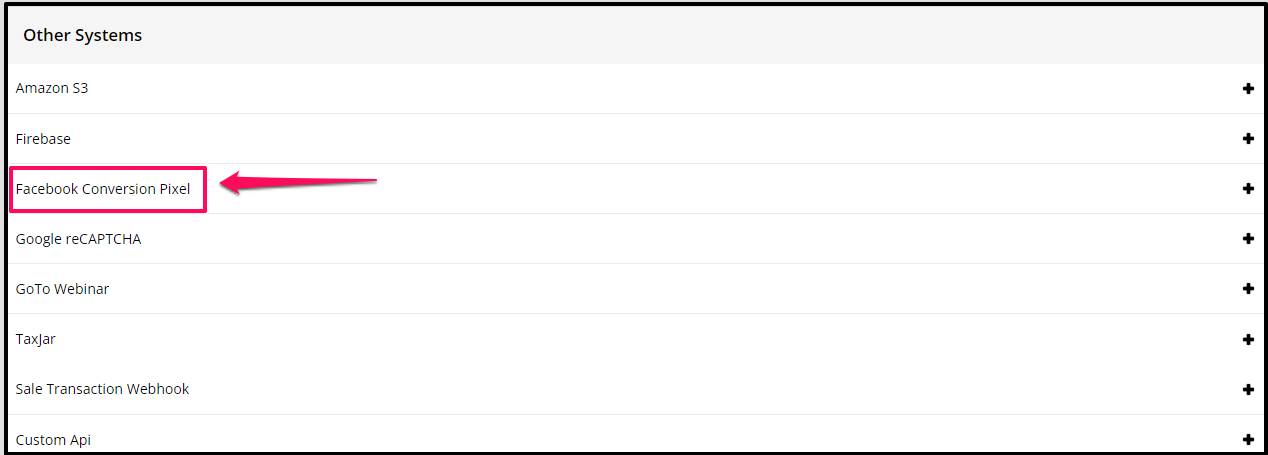
- The Pixel ID and Token box will appear.

To get the Pixel ID and Token, simply follow the steps below:
Step 1. You need to have Facebook Business Account.
- Create Business account

- Enter your Business and Account Name as well as your Business Email.
Once done, click on Submit.
- Click on your Business Account.

Step 2. Create Facebook pixel.
- Go to the left sidebar menu and then click on All tools and then Events Manager.

- If you don’t have any pixels yet, the page will look like this:

- Hover your mouse to the left sidebar and then click on + Connect Data Sources.

- The Connect a New Data Source pop up will appear.
Select Web and then click on the Connect button.
NOTE: If you have at least one pixel page, it will look like another way. To create new pixel, click on the Business settings (gear icon). 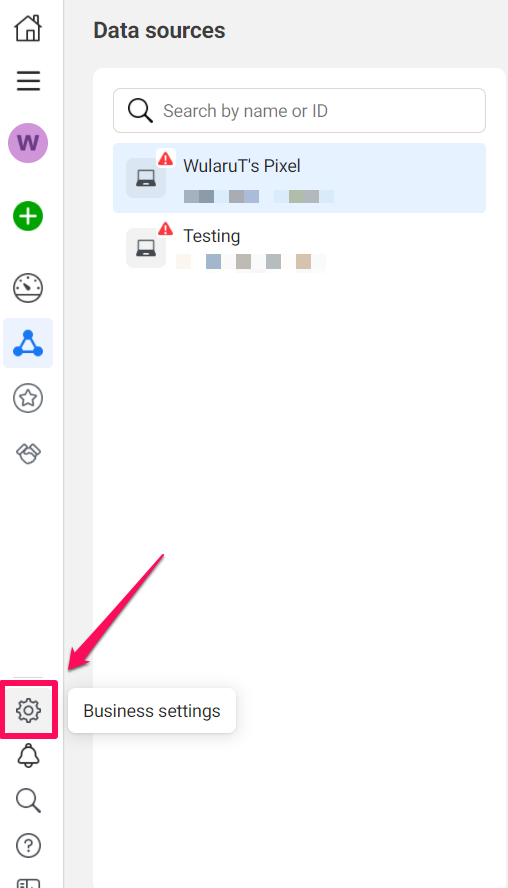
Then, under Data Sources, select Pixels and then click on the blue Add button. 
- You may now create a pixel.
Simply enter a name and then click on the Create Pixel button.
- Next, it will ask you to enter the website URL. Simply enter it and then click on the Next button

- On the next page, select Conversion API and Facebook Pixel (recommended) and then click on Next.

- Then, click on Install code manually.

- It will direct you to the Conversion settings.
Simply click on the Continue button.

- In this page, please select the events you want to send through the Conversions API.
You may click on the drop-down arrow to select your business category.
Once done, click on the Continue button.
- Next, please select the event parameters you want to send with each of your events.
For more information, you may refer here.
Once done, click on Continue.
- In the Review Setup, review the events and parameters you want to send through the Conversions API.
Once done, click on Continue.
- Lastly, you may personalized instructions that will show you or your developer how to implement the Conversions API to send all of the web activity you’ve selected.
Once done, click on Finish.
Step 3. Verify Domain at Facebook
- At the left sidebar, click on the Business settings (gear icon).
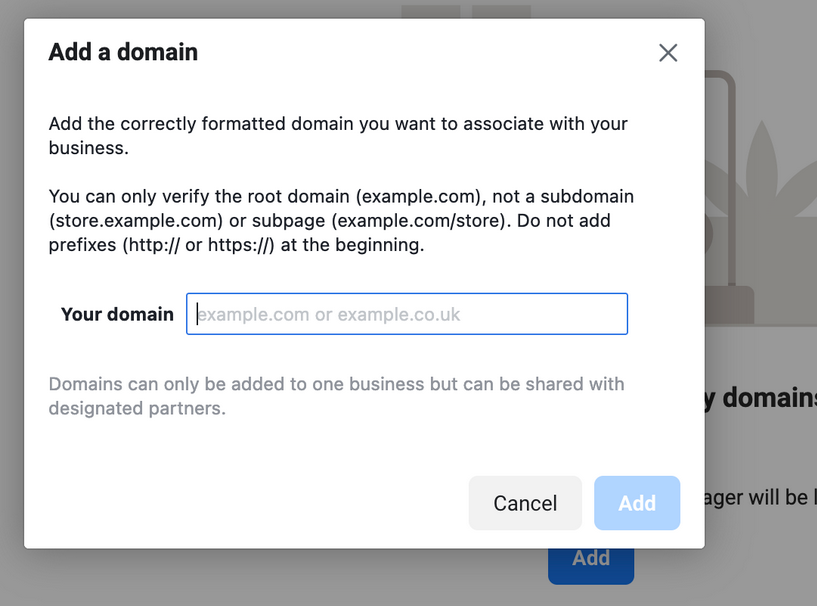
- Then under Brand Safety, please select Domains and then click on Add button.
If you don’t have any domains yet this page looks like this:

- On the next screen, simply enter your domain.
- You’ll see instructions on what to do next to verify the domain.

- In the Verify your domain drop-down arrow, select Add a meta-tag to your HTML source.
- Next, follow the 4 steps listed:
1. Copy this meta-tag:
Example: <meta name=”facebook-domain-verification” content=”k8yhr6r4fe1g8f5upnrcwowdn45rzr” />
2. Paste the meta-tag into the <head> … <head> section of the website’s home page HTML source, and publish the page.
Note: Verification will fail if the meta-tag code is outside of the <head> section or in a section loaded dynamically by JavaScript.
+ Go to your site and edit the home page where you want to add the meta-tag.
+ In the Page Options, click on the Custom Codes and paste the meta-tag to the Header.
 + Publish the home page or view it online.
3. After you’ve published the home page, confirm that the meta-tag is visible by visiting http://yourdomain.com/ and viewing the HTML source.
To do this: Go to the published page, right-click on blank space and select “View Page Source”. Then search for the meta or meta name.
4. Once confirmed that the meta-tag is visible in the page source, you may now click the Verify domain button.
Note: It may take up to 72 hours for Facebook to find the meta-tag code. If the domain status is still not verified, you’ll need to click Verify domain again or confirm the meta-tag is listed in the scrape results in the Sharing Debugger Tool.
Final steps
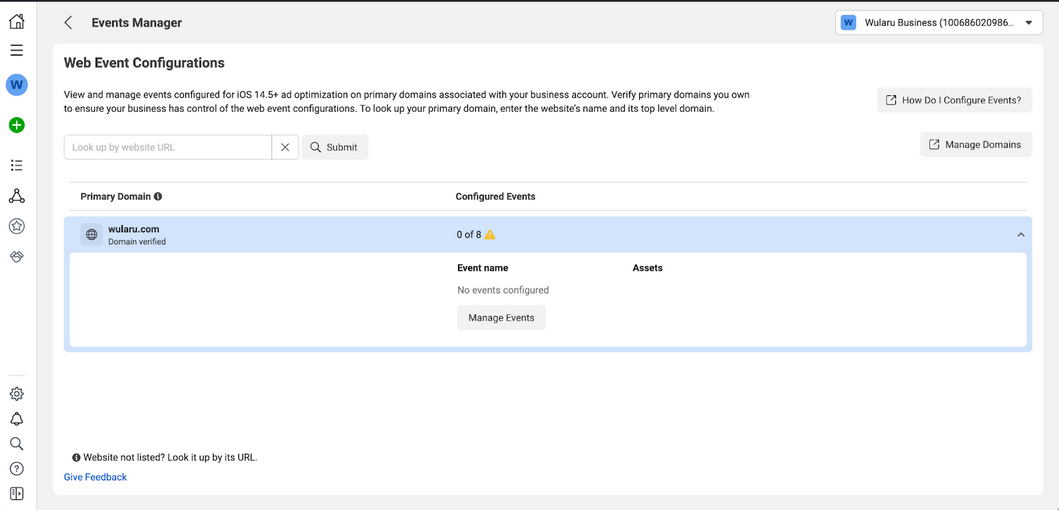
- At the left sidebar, go to Data Sources and then select Pixels. Then click on Open in Events Manager.

- Click on Review Events or Configure Web Events – at this step they both do the same action.

- Add events Lead, View Content or Purchase for your pixel.

- That’s it! The settings at Facebook are now finished.
- Now go back to your site and then go to Settings > Integrations > Facebook Conversion Pixel.
- Copy the Pixel ID from Pixel Events Manager page. Paste it in the Pixel ID box.

- Go to Settings tab, scroll down and then click on Generate access token link. Paste it on the Token box.

- Click on SAVE CHANGES.
That’s it! Your Facebook Conversion Pixel is now integrated to your site.
Note: By default, the page view event (someone lands on the page) is activated on every single page on your site. To track or add different events and send them to Facebook, simply edit your page.
To do this:
- Open or edit the page, the page builder will open.
- Go to Page Options.

- Click on More Options and then switch on the Facebook Event.

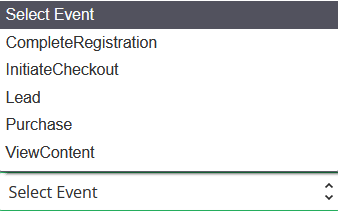
- The Select Event drop down menu will appear. Simply select the event that you want.
- Once done, just click on SAVE.
Now you can go to your Facebook Pixel Events Manager page and see the results. 
Useful links
- Conversion API documentation
- Facebook Pixels Link
- Facebook Apps
- When to Use Domain Verification to Verify Your Business