
Once your Auto Webinar and Webinar Registration page has been setup, your next step is to show your Auto Webinar. To do that you need to setup a Auto Webinar Page.
Getting Started:
- Go to Campaign and select your Webinar campaign.
Click on the + Add New Page.

- Add a name for your Auto Webinar Page.
Under Page templates, select Webinar pages.
From the template screen, select Auto Webinar.

- Once open, click on the Video placeholder.
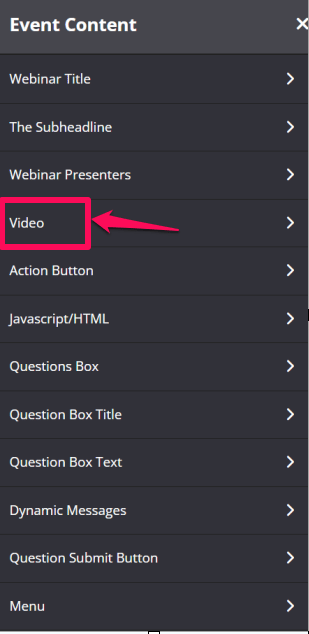
This will open the Video settings section in the left-sidebar menu.

- Length of the video (in seconds)
Simply Add the length of the video.
This will allow us to know where to begin playing the video i.e. if somebody arrives on time for the webinar, they will watch it from the beginning. If somebody arrives 30 minutes late, then they will begin watching the video 30 minutes in. This is done to replicate the feel of a live webinar. - Video Type
Here you have three options:YouTube
If your video is hosted on YouTube, select this option from the drop-down menu and under
YouTube Video ID, add the YouTube ID of the pre-recorded video.Vimeo
If your video is hosted on Vimeo, select this option from the drop-down menu and under Vimeo Video ID, add the Vimeo ID of the pre-recorded video.Video URL
If your video is hosted on a platform like Amazon S3, then select Video URL from the Video Type drop-down and paste your S3 video URL in the field provided. - Audiences
If you want to take advantage of Audience segmentation, this is a great tool to use.
It allows you to setup a custom videos that will display for each Audience group that you have created.
To use this feature
From the drop-down menu, select the Audience you created in the Boosters section.
Once open, you will see an individual Video URL fields for each Audience group.
Simply add in the custom video URL you want to use for each group.
NB! Use this link to access page
To ensure the Audience feature will work, use this Audience page URL in your marketing emails, instead of the standard page URL.Simply replace the XXX, with the Email merge field used by your Emailing system. That way, when a user registered to a specific Audience group accesses this page, your site will pick up their email and then show the relevant Video linked to that Audience group.Customers not registered to an Audience will simply see the default video you added to the top of the video settings - Once done, click on SAVE.
- Back in the Auto Webinar Page settings, click the Action Button in the left sidebar panel.
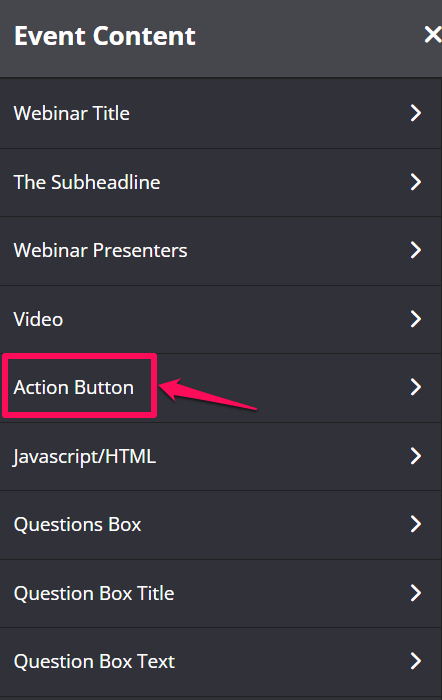
The Action Button settings will appear in the left-sidebar menu.
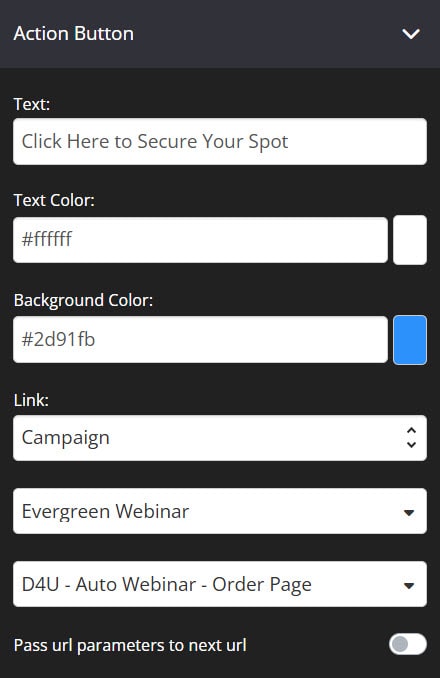
- You may customize the design of the button using the Text, Text Color, and Background Color settings.
- Link – this will redirect the user upon clicking, select a page or use a custom destination.
- To pass certain parameters from your Webinar Page URL to the next page (e.g., Sales page or Order page), enable the Pass URL parameters to next URL option.
- Once done, click on SAVE.
- Back in the Auto Webinar Page settings, click on Events Settings in the left-sidebar menu.

- Details
Under Select Auto Webinar select the Auto Webinar that you just created from the drop-down menu.
i.e. select the webinar that people have been registered for.

- Click on SAVE.
By knowing the Date & Time of the Auto Webinar and how long the video is, we will know
+ When to load the Starting Soon Image
+ When to begin the actual Webinar
+ And when to load the Closed image
The above settings provides your registered members with a seamless ‘Live webinar’ experience.
- Controls
You have options to control the webinar action button. Show Button When Not Started
When enabled, the button will show on the webinar page even if the event has not yet started.Show Button When When Live
When enabled, this will allow you to add the time delay in seconds before the button appears during the webinar.Show Button When Closed
When enabled, the button still appears on the webinar page even though the webinar has been closed.
Setting your Question Box and Menu

Your viewer will be able to see whatever you have set up for your Question Box.
-
- Questions Box – enable/disable the Questions Box and Google reCaptcha.
- Question Box Title – change the title for your question box.
- Question Box Text – change the text inside of your question box.
- Dynamic Messages – set the Dynamic Messages for your page. For details, click here .
- Question Submit Button – change the text color and background color of your question submit button.
- Menu – set the menu for your page. It will display at the bottom of the page.
Related Articles
Auto Webinar Page Customizations
Managing Your Webinar Questions