
The Messages is where the members of your site can send or receive private messages from other members.
To Change the Settings of the Messages Feature
- Go to Members Area and then select Online Courses.

On the Online Courses dashboard, click on the ellipsis (…) on the upper right hand corner and then select the Settings.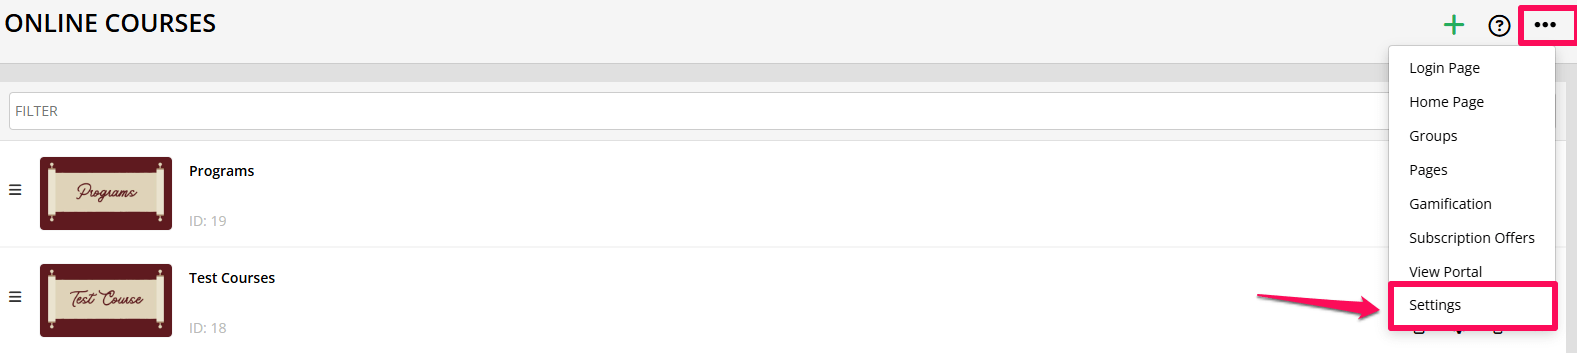
- The Portal Settings pop up window will appear.
Click on Messages.
- Once opened, simply enable the option by switching the toggle to ON.
Then, click on SAVE CHANGES.

- Once enabled, the Messages will now be available.
To access it, go to Membership Site and click on the Message icon.
All of your members will also see the new option on their own Avatars.
- Upon clicking, the Messages pop up window will appear.

Give access to inbox only if member has access to
- To restrict the access, enable the Give access to inbox only if member has access to.
From the drop-down, you may select specific course and then click on the +Add button.
Members who only have access to the course selected will be able to access the Messages.
Group Chats
This will be a great feature if you want to have a group chat or coaching session inside your membership site.
- Group Chat: Only Admin Users can create group chats
By default, it is enabled. Create a group chat feature is only available on the admin account.

If disabled, this will allow your members to create a group chat. There will be a Create Chat option for every single member when they click on the Avatar icon and Messages. Click on the vertical … on the upper right hand corner.
- Once clicked, you may now create a group message. Simply enter the name of the member.

- When you go back, the name of the users will be shown in the Messages modal.

As an admin, there will be more options in the group chat. Simply click on the 3 dots on the upper right hand corner. 
- Details
This option will allow you to edit the name and icon of the group.
- Members
As an admin, you may manage the members like adding or deleting.
- Admins
This feature will allow you to manage the admin.
You may assign another member as an admin by switching the toggle ON.
When you leave the group, the assigned admin will be managing the group moving forward.

- Share
This feature will allow you to share this group to another member via URL.
- Pin
You may pin the group.
Once pinned, you will see that it is already pinned in the Messages modal. It will always appear at the top of the modal.
- Leave Group
You may leave the group chat. The group will still be active after you leave.
NB! As an admin, you cannot leave the group unless there is another admin assigned.
You will get a warning message:
- Delete Group
This will delete the group chat. All messages will be deleted and all participants will be removed.
You will get a warning message to confirm the action:
As a participant or member, these are the available options in the group chat: 
To see the group chat members, simply click on the Members. 
That’s it! That’s how you set up and manage the access of your members to the Messages.
NB! The new feature to send audio messages on desktop and Academy app is only available for beta users and will be available to all users in near future.
Related Articles
Private Messages Between Members
Block / Unblock Messages
Messages on iOS Academy+ App
Messages on Android Academy+ App