The Order page offers additional advanced features that help track purchases, cancellations and order processing when working with other systems like Infusionsoft.
To Get Started:
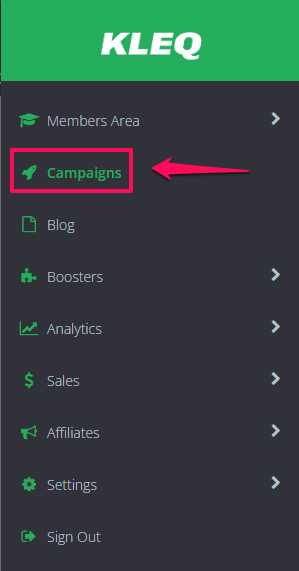
- Go to Campaigns in the left-sidebar menu and then select the relevant campaign.
Open the Order or Upsell page you would like to edit.
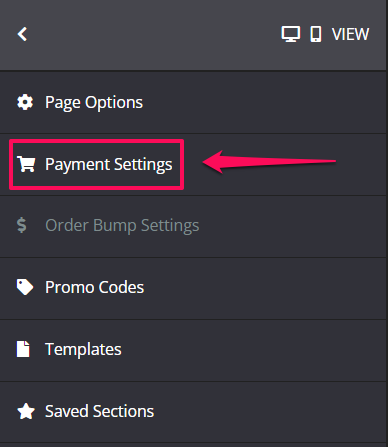
- Once opened, click on Payment Settings in the left sidebar menu.

- Once opened, scroll down to the bottom of the menu and click on More Options.

More Options
-
- Enable Tax Calculation
If you want to easily display tax calculations for Europe (VAT) and Australia (GST) on your order page on top of the total amount you can use this built-in tax calculation.
For more information regarding Tax Calculation, proceed here. - Enable Quantity Select
The feature Enable Quantity Select is only available for external products. - Limit number of sales
Enable this option if you want to limit the number of sales on the order page.
Max number of sales
Enter the specific number for the maximum number of sales you want on the order page.
Once Maximum is reached redirect to
Select the page where the user will be redirected once the order page reaches the maximum number of sales.
Current sales count
This will count the current sales on the order page.
Reset Sales Count
This will reset the sales count on the order page. - Use Google reCaptcha
Enable Google reCaptcha to keep malicious software from engaging in abusive activities on your website. To integrate Google reCaptcha to your site, click here. - Refund/Cancellation Action
By default, it is turned off. Simply turn the toggle ON, and a Refund/Cancellation Action drop-down button will appear. This action will apply a tag or send a webhook if the purchase is refunded or cancelled (Single payment, payment plan or subscription).- Apply a Tag
When there is a purchase, you can apply the integrated emailing system’s tag to the user’s profile. Simply select the relevant tag from the drop-down menu.
- Send to webhook
This option allows us to send a notification each time a purchase is refunded or cancelled.
To do this, simply add your preferred webhook URL and we will send the user data to that URL.
How this Works:
If the purchase is refunded or cancelled (Single payment, payment plan or subscription), we will send information to your system through the webhook URL. We highly recommend using Zapier.com for these webhooks, as they integrate with 100’s systems and apps and they are simple to set up. You can find more information on how to set up Zapier with KLEQ here: Integrate KLEQ with Zapier Webhooks

- Apply a Tag
- Enable Tax Calculation
NOTE: The refund/cancellation will take effect for the following scenarios:
Refund tag will be applied or the webhook will trigger right away after the refund
Cancel End of the Current Period the tag or webhook will only trigger after the actual cancellation date
Cancel Immediately tag will be applied or the webhook will trigger right away.
Refund tag will be applied or the webhook will trigger right away after the refund
Cancel End of the Current Period the tag or webhook will only trigger after the actual cancellation date
Cancel Immediately tag will be applied or the webhook will trigger right away.
- Enable All Stripe Payment Methods
By default, it is turned off. You can now enable all activated Stripe payment options to be displayed on order pages.
WARNING: Some payment methods do NOT support off-session payments (AfterPay/Clearpay, Klarna etc). This means 1-Click upsells will NOT work! Do NOT use this option if you are redirecting to a 1-click upsell page after the purchase. Note: Stripe will display payment methods based on your business and customer location and Payment types.
NB! The amount displayed on a checkout page will automatically include a comma of the amount more than three digits.
Related Articles
Working with Order Pages
Adding an Order Bump Block to your Order Page
How to setup your Promo Codes
Setting up a Stripe Upsell Page
Setting up a PayPal Upsell Page
