This guide will help you manage all of your paying customers’ profiles.
You can see all of your paying customers’ basic information (name & email) on this dashboard. You can update your customers’ profiles here, check their personal transaction history, or manage their subscriptions.
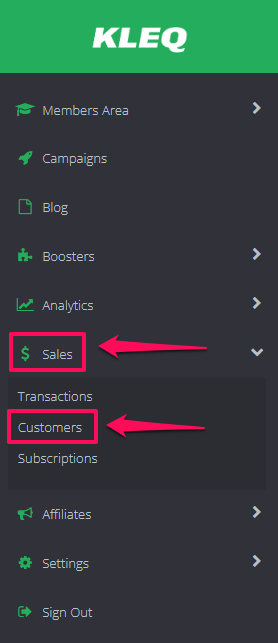
To Access Customers Dashboard
- Go to Sales, then select Customers.
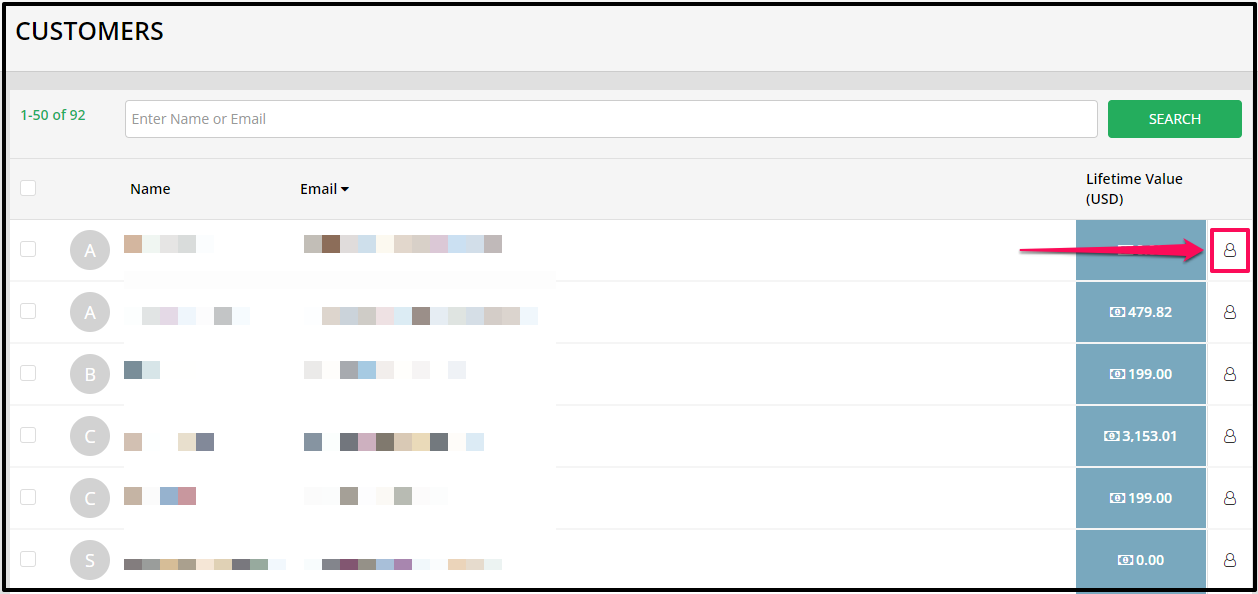
The Customers dashboard will appear.
Managing Customer Profile
- In the dashboard, look for the name of the customer you want to check/edit.
Click on the Profile button to the far-right of the customer’s profile.
Upon clicked, the customer’s profile information window will pop up.
- The customer’s profile information window contains the customer’s basic information, lifetime value, transaction history & subscriptions.

- Editing profile
In this section, you will see the customer’s information and profile picture. - To update the information, click Edit customers details.
You can update all of the customer’s information details as well as the avatar.
Once done, click on the SAVE button.
- Managing the profile’s transactions
In the Transactions tab, you will see all the details of the customer’s transactions, with the most recent transaction at the top of the list.
You will also see the payment system used for a particular transaction (Stripe/PayPal) and any refunds that have been processed.
You can manage the customer’s transaction using the buttons next to each transaction:
+ Invoice – upon click, the Invoice pop up window will appear with the customer’s invoice details. You can also click the Re-send to customer button to re send the invoice to the customer’s email.
+ Refund – upon click, the refund confirmation window will pop up. Either proceed with refund or cancel. 
+ Affiliate – upon click, the Edit Sale window will pop up. This will allow you to change the Affiliate for the transaction and adjust the commission amount. 
Managing Subscription
This section will allow you to see the details of your customer’s subscription.
+ Name – name of the subscription
+ Status – current status of the subscription
+ Total – price of the subscription
+ Cycle – cycle of the subscription
+ Start Date – start date of the subscription
+ Next Payment Date – the date the customer will be charged for the renewal
Below is a list of what you can manage in the member’s subscriptions:
- Change Price of a Subscription
- Upgrade / Downgrade the Subscription
- Edit the Affiliate
- Cancel Subscription
- Uncancel Subscription
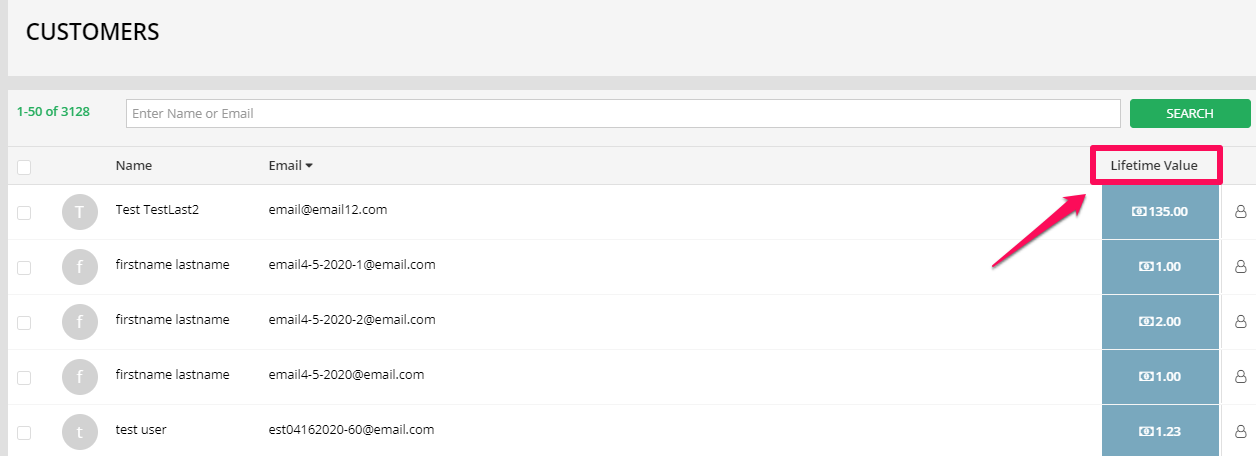
Lifetime Customer Value
Instantly see who your best customers are. Clicking the Lifetime Value will sort the list. 
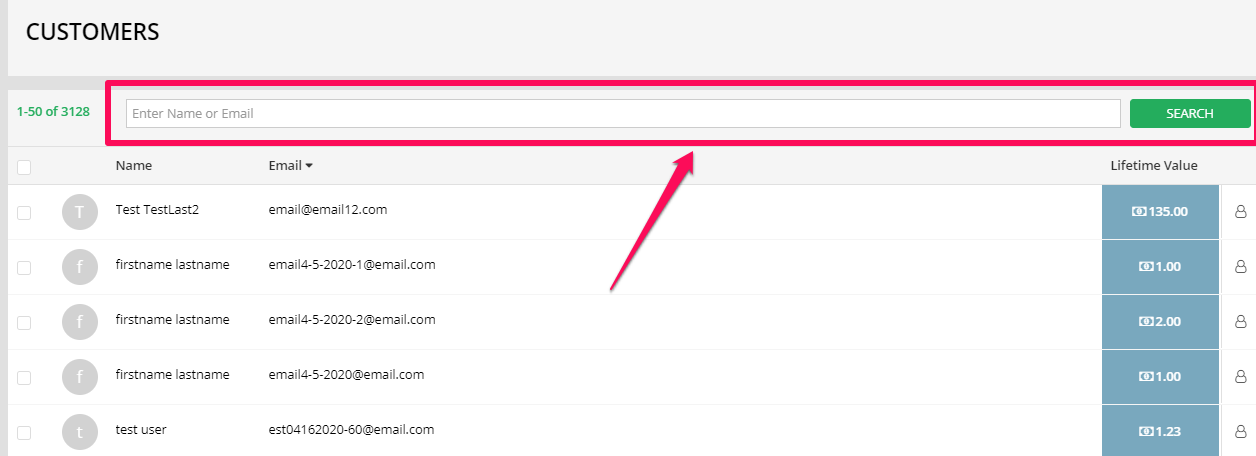
Using Search
In this dashboard, you can search the customer’s account using their name or email then click the Search button. 
Using Export
You can export all of your customers’ information into a CSV file.
To do this, click the Export button at the very bottom of the Customer dashboard.
 Once clicked, a CSV file will be downloaded with the following format: Name | Email | Company | Company ID | Company Email | Tax ID | Phone | Address | City | State | Zip/Postal Code | Country | VAT Number | Lifetime Value.
