This feature allows your members to add comments to your course pages. This is useful if you want to create individual lesson pages and get feedback on specific topics, instead of adding multiple topics on one page using the Lesson Blocks.
To do this:
- Go to Members Area in the left-sidebar menu and then click on Online Courses.
Click the Content button of the relevant course where you would like to add the Comments.

- Click the Edit button (pencil) of the Course page you want to add your comments to.

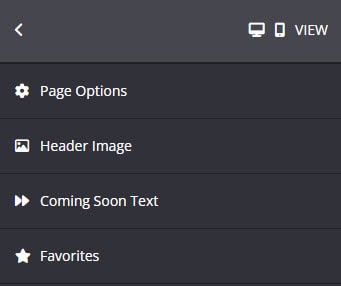
- In the left sidebar panel, click Page Options.

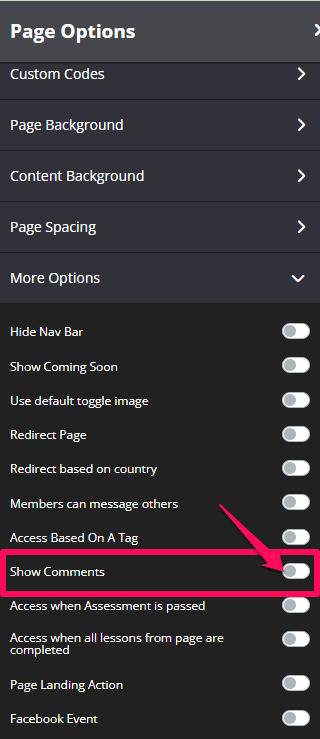
- In the Page Options, click on More Options.
Simply switch the toggle ON to Show Comments.
You have 2 options in the drop-down menu:Allow Comments – this will allows users to add comments to your course page.
Lock Comments – this will lock the comment section. Users will not be able to add any new comments.
Once done, click on SAVE.
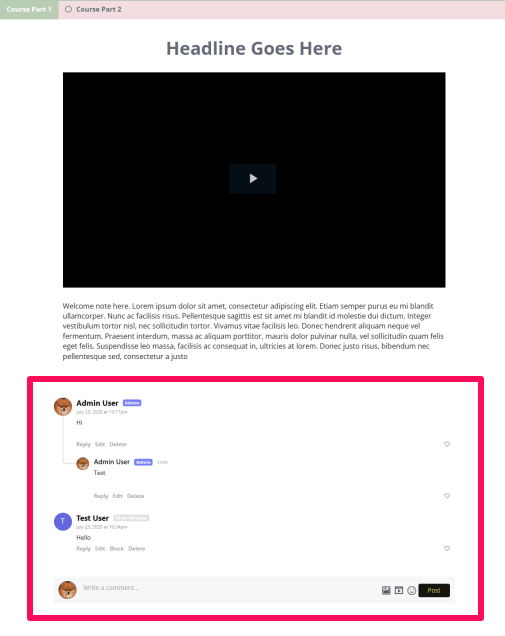
Comments will appear at the bottom of the course page.
Whenever users post a comment, it will appear at the bottom of the comments and in chronological order.

- Previous conversations with that member will also be saved in this section.
- Admins and Members can add an Image, Video, and Emoticons to their comments.
+ To add an image, you can use an Image URL, or upload an image directly from your computer (max. 200kb per image).
+ To add a video, simply add the video URL in the field provided. You can use self-hosted videos hosted on the following platforms: YouTube, Vimeo, Wistia, Facebook, MP4, Loom.
+ To add an emoticon, simply click the emoticon icon, scroll down, and select your desired emoticon.
Related Articles
How to setup your First Online Course
How to add Content to your Course
