
There are two ways you can display an optin form on your pages. The first one is an inline form and the other one is a pop up form. The inline form is on the page and visitors will see it on the page. The pop up for is on a pop up that will appear when visitor clicks on the button.
Inline Form
The Inline Form type embeds the auto-responder form in the Optin page itself and the optin fields are immediately visible to users. You can use the Inline Form type to your page by adding an Optin Form block.

Editing Form Format
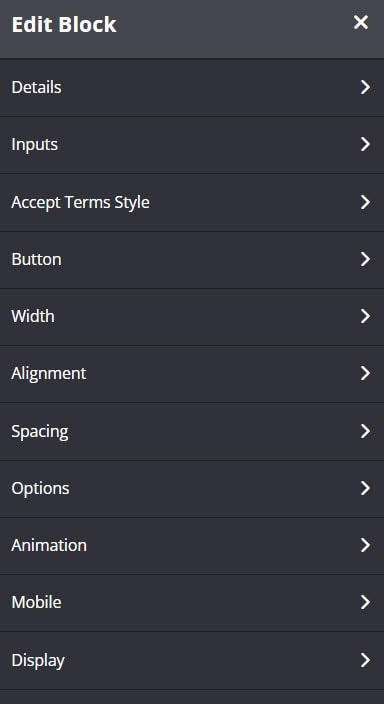
To edit the format of the Inline form, click on the Optin Form block in the Preview pane. The Block settings will open in the left-sidebar menu.
If you want to add subscriber’s extra information (last name and phone) to ConvertKit, you need to go to Settings > Integrations > Convertkit and select custom fields for last name and phone.
Works on the ff:
InfusionSoft
Active Campaign
Ontraport
Drip
Mailchimp
AWeber
Once done making the changes, click on the SAVE button.
General Form Settings
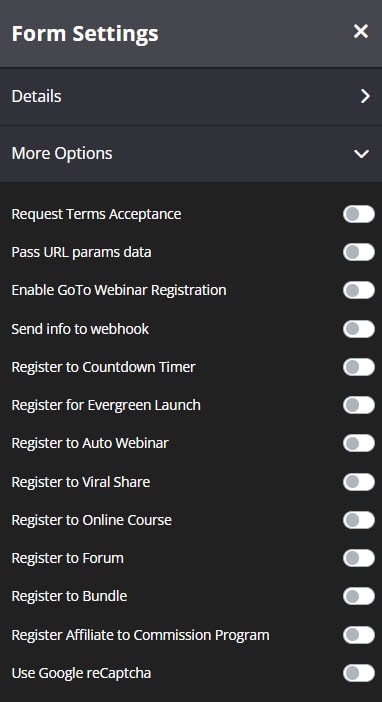
- Once done with your Optin Form block, go to Form Settings, and select how you want to send the details to your email system.

- Remember you can go fast by integrating your email system and simply adding a tag.

- Alternatively if your email system is not one of the systems that we deeply integrate with then you can always add a web form code from your system.

- Under Redirect to this page on optin, select the page you want users to reach once they opt-in.

- Add Audience Segmentation

If you are using an Audience booster, you may assign people to different groups.
When you enable this feature, simply select the Audience from the drop-down.
When they opt in, you can redirect them to different pages based on the audience group they belong to. - (Optional) Select the relevant additional settings for your form from the left-sidebar menu e.g. Register to Online Course, Register to Viral Share, Register to Evergreen Launch etc.
- Once done, click on SAVE.
Form Pop-up
The Form Pop-up works with a trigger. You can use a Button or an Image trigger that you can add to your Optin page. When clicked by the user, the Form Popup appears.
To set up your Button block, simply follow these steps How to setup a Button Block

To set up your Image block, simply follow these steps How to setup an Image Block

Setup your Trigger
Select your Button or Image in the preview pane.
- In your Button or Image block settings, go to Link.
- Scroll down to Optin boxes.
- Select the name of the Optin box from the drop-down menu.

General Form Settings
- Once you’ve selected desired trigger, go to Form Settings, and select how you want to send the details to your email system.
- Remember you can go fast by integrating your email system and simply adding a tag.
- Alternatively if your email system is not one of the systems that we deeply integrate with then you can always add a web form code from your system.
- Under Redirect to this page on optin, select the page you want users to reach once they opt-in.
- Add Audience Segmentation
If you are using an Audience booster, you may assign people to different groups.
When you enable this feature, simply select the Audience from the drop-down.
When they opt in, you can redirect them to different pages based on the audience group they belong to. - Select the relevant additional settings for your form from the left-sidebar menu e.g. Register to Online Course, Register to Viral Share, Register to Evergreen Launch etc.

- Once done, click on SAVE.