
Now that your Auto Webinar is setup, you need to have a way for users to register for the Webinar.
To Do This:
- Go to Campaigns, then select the Campaign where you want to setup your Webinar Registration Page. Click on + Add New Page.

- In the next screen, give your Webinar page a name.
Under the Page Template drop-down, select Optin Pages.
You now will see the Webinar templates at the bottom of the list.
Choose one of the Webinar registration templates.
- Once opened, click on Form Settings in the left-sidebar menu.

- In the next screen, under Email System WebForm Code paste in the form code provided from your Email system or select the integrated emailing system in your KLEQ site.
This will be used to capture the contact of the users registering for the webinar.
- Click on More Options, switch the toggle on Register to Auto Webinar option.
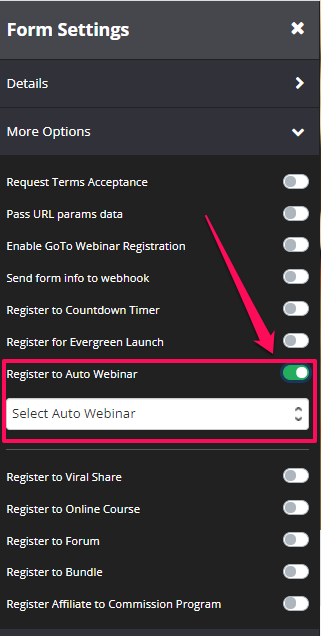
- From the drop-down menu that appears, choose the Auto Webinar that you have just created.
- Note: Set up the Redirect to this URL on Optin in the Details.
Add the URL of the page you want people to reach once they have registered. - Once done, click on SAVE.
Note: If you are using a regular optin page, there is need for you to add a Webinar Date block to display the start date for your next webinar.
When using a Multi auto webinar, the user can select from the drop-down menu for their preferred time before registering.
Setup the Countdown Timer Block
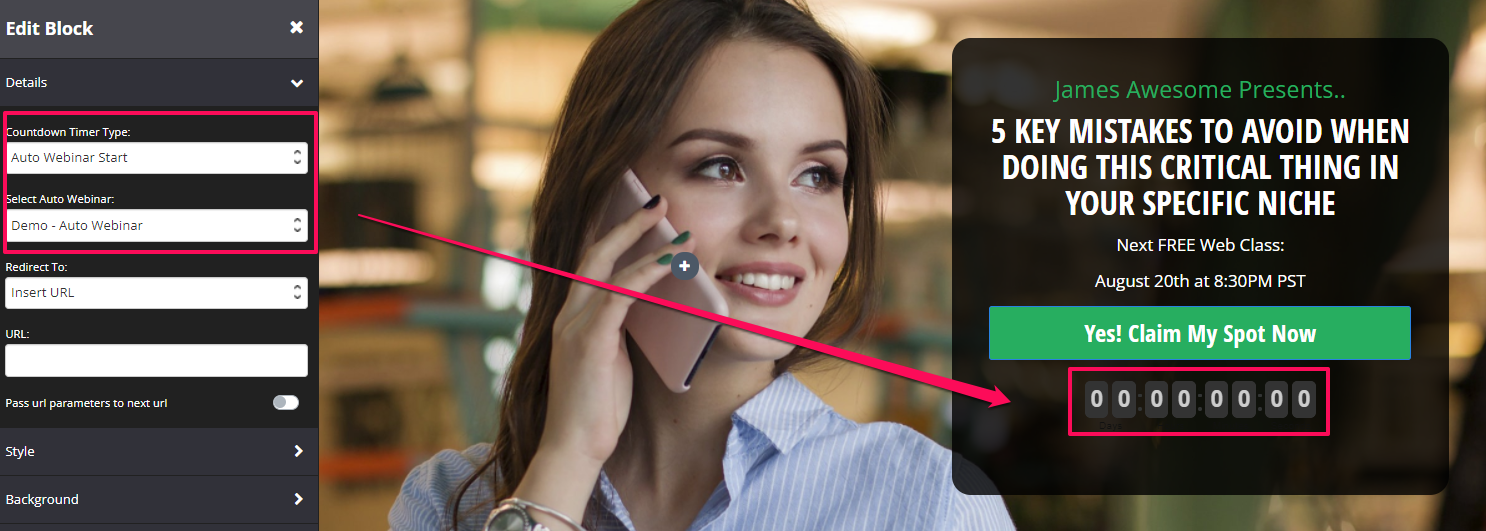
- Back in the Optin page (Webinar Registration) Page settings, click on the Countdown Timer block in the Preview screen. This will open the Block settings section in the left-sidebar menu
- Under Countdown Timer Type:, select Auto Webinar Start.
- From the drop-down menu below Auto Webinar Date, choose the Auto Webinar that you have just created.
- Once done, click on SAVE.
That’s it, the system is in place. When customers land on your Webinar Registration page, the date will display according to the setting selected for your Auto Webinar i.e. If you setup an Evergreen webinar, the relevant date & time will display at the top of the page according to the settings selected for that webinar.
If you setup a Just in Time webinar, the date & time for the next available webinar will display. This will be the closest 15 min, 30min or 1 hour slot (depending on Auto Webinar setting) and will display in the customer’s Local time.
If you setup a Weekly webinar, the relevant date & time will display at the top of the page according to the settings selected for that webinar.
If you setup a Multi webinar, a drop-down menu will display at the top of the page showing the different time slots available according to the settings selected for the Auto webinar.
Note: If you prefer to register people for your Webinar using a Webhook, simply follow these steps instead How to register users to an Auto Webinar using a Webhook
Related Articles
Step 3 – Create Auto Webinar page
How to register users to an Auto Webinar using a Webhook
Managing Your Webinar Questions