
KLEQ will take care of sending emails to your users for you. Only basic details are needed, in order to complete the email setup for site.
To Do This:
- Go to Settings in the left-sidebar menu then select Global Settings.

- In the Global Settings dashboard, scroll down to Email Settings.
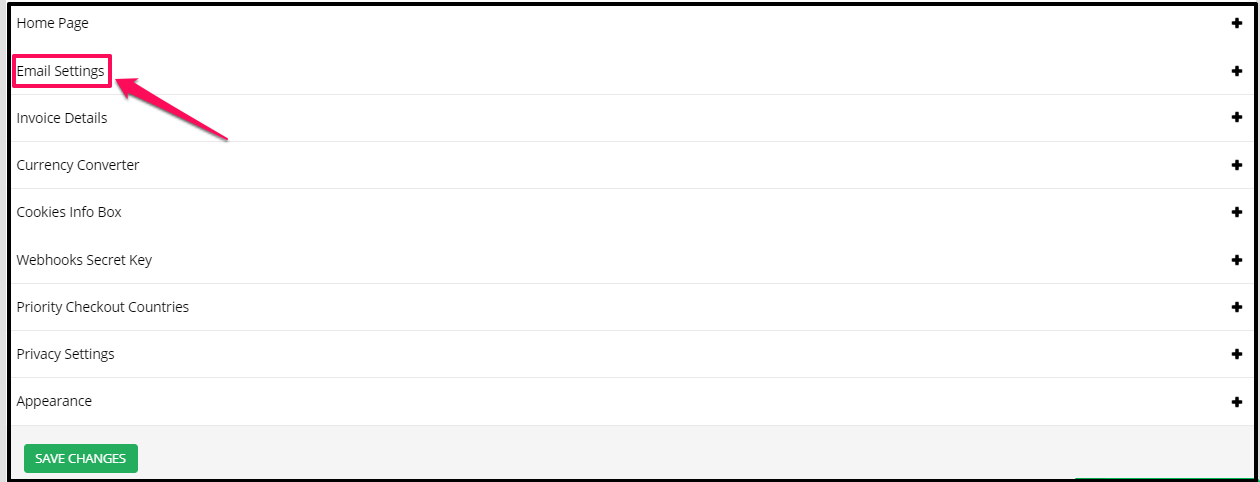
- The following fields are mandatory and need to be filled in order for the system to be able to send out emails:

Email – From Name
Add the “From” name that customers will see when they receive emails from you.
Email – Reply To Email
Add the “reply to” email address customers will be sending their reply to.
Email – Company Name & Address
Add the company information that will appear at the bottom of your emails, like name and physical address and etc.Email – Header Logo (200 x 50px)
You can even include a header image/company logo that will appear at the top of all your emails.
Simply click on Browse and select the relevant image from your computer. When uploading the image, there will be a resize tool.
Email – Header Background Color
You can specify the color for the background of the header. This color will be around the image that you select for your Header image. Simply select the color you want from the color picker. - Once done, click on SAVE CHANGES at the bottom of the page.
The details provided above will be used for all emails sent from KLEQ.
Sending Emails
KLEQ automatically sends emails when:
- A member signs up
- An Offer is purchased
- An Offer is granted to a Member
- Someone registers to a viral share
- A viral share referral signs ups
KLEQ automatically generates these emails for you and sends them through our email server. This means that emails from your KLEQ site will always have our mailer domain address associated with it.
For this reason, the ‘From‘ address cannot be changed.
However, you do have an option to change the ‘From Name‘ and ‘Reply-to‘ email address in the Global Settings section of your site.
Simply scroll down to the Email section at the bottom of the page and make the relevant updates.
Related Articles
Managing Email Unsubscribes
Website Email Messages
2019-08-17 – Changes to System Emails