
The Member Directory is an option where members of your site who have accepted to be listed will be displayed. This will allow other Admins and Members to send you private messages.
Enable Your Member Directory
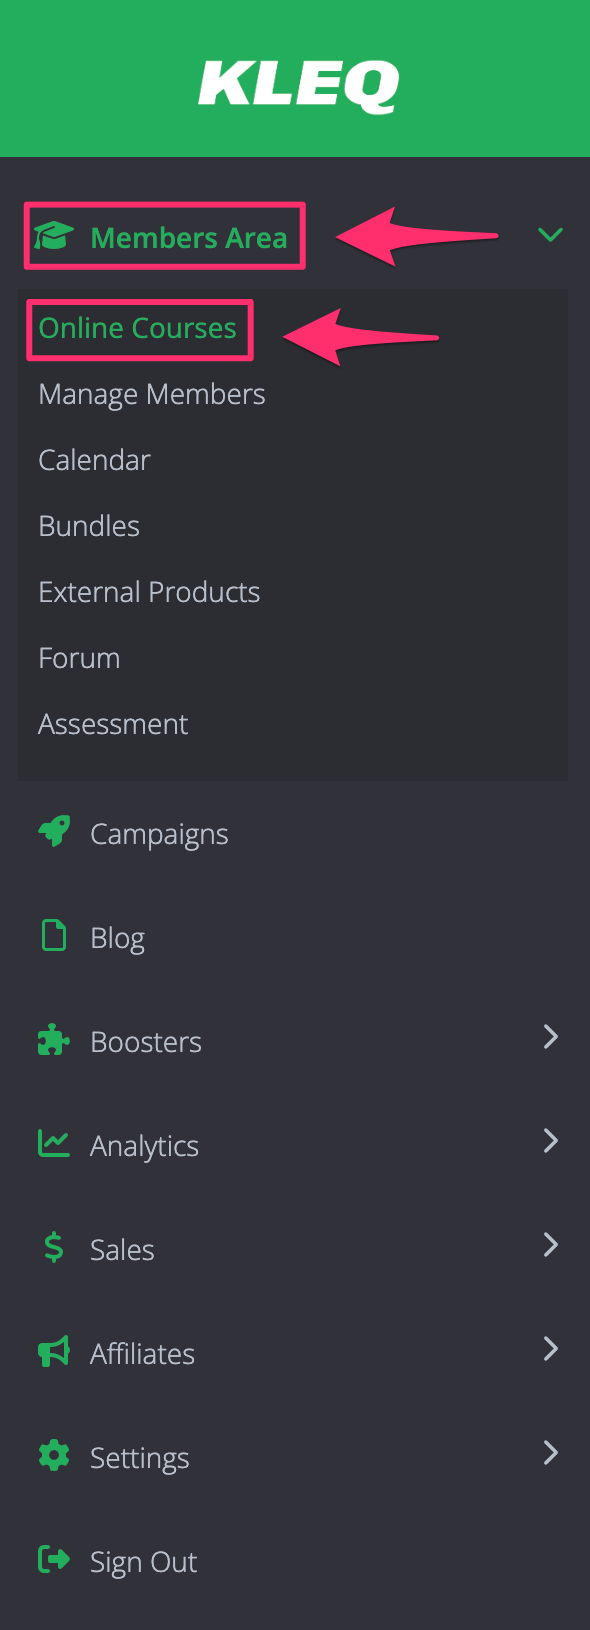
- Go to Members Area and then select Online Courses.
On the Online Courses dashboard, click on the ellipsis (…) on the upper right hand corner and then select the Settings.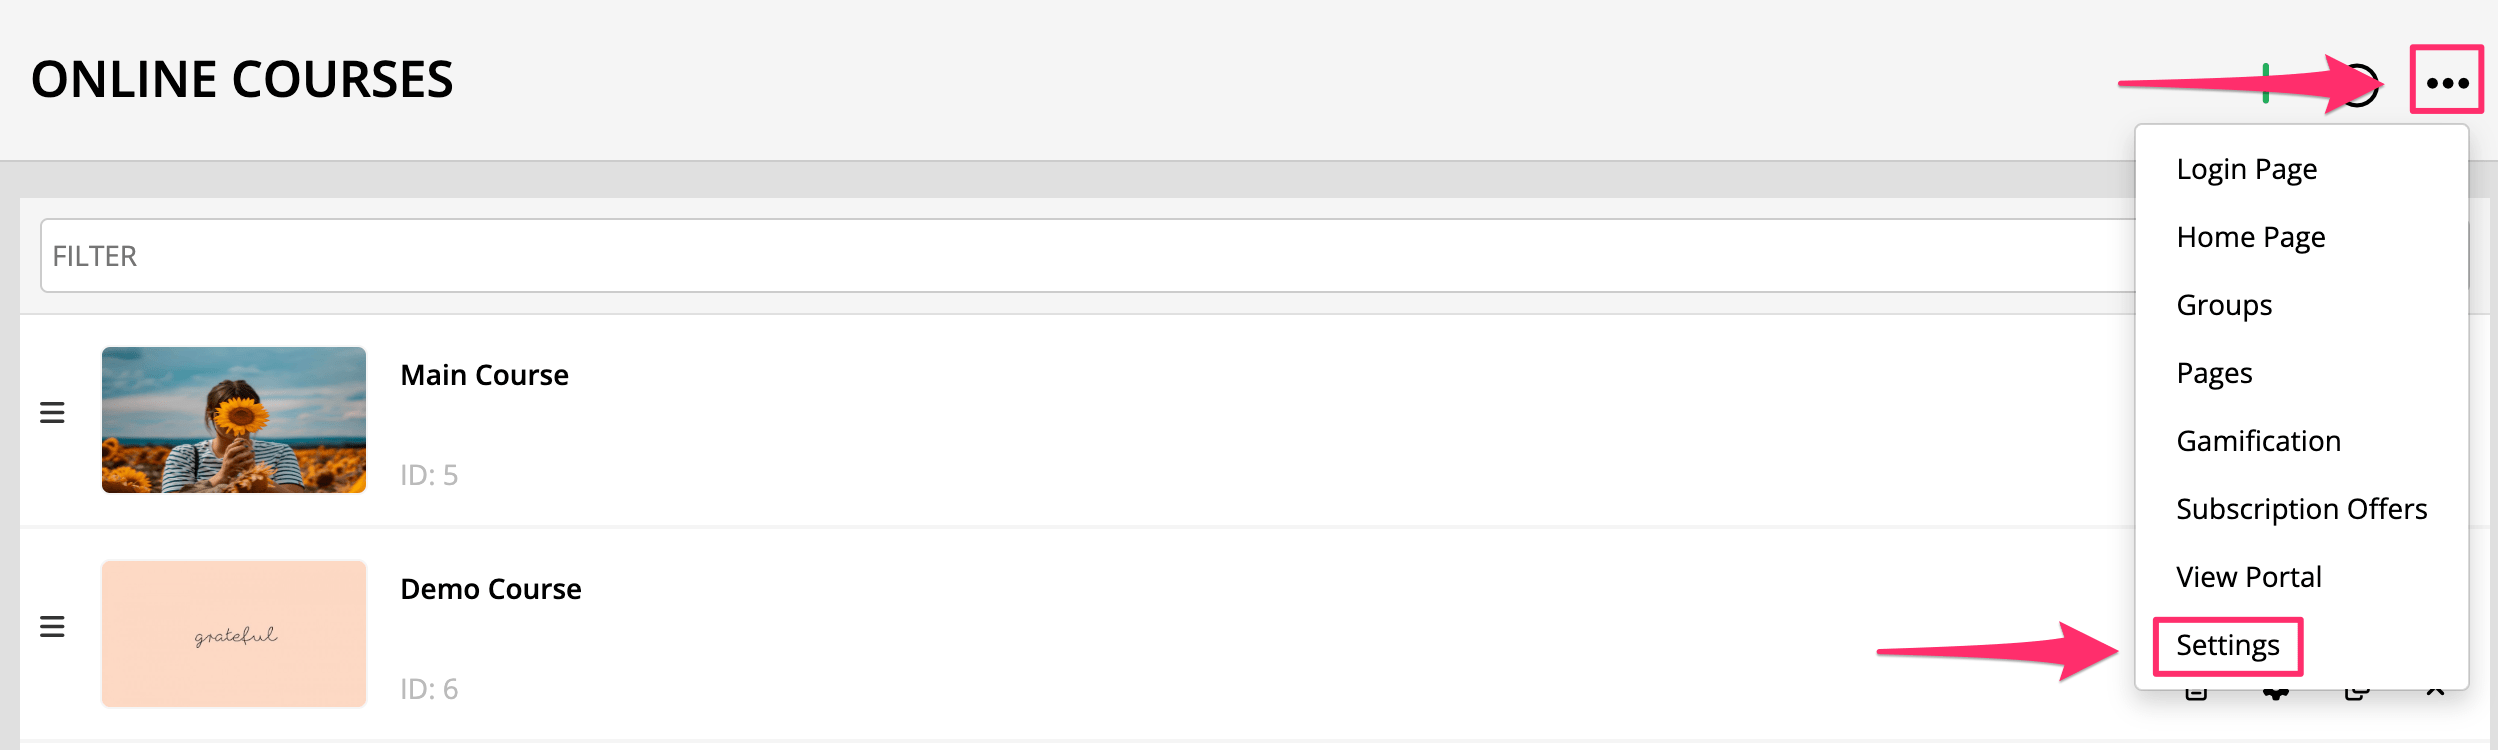
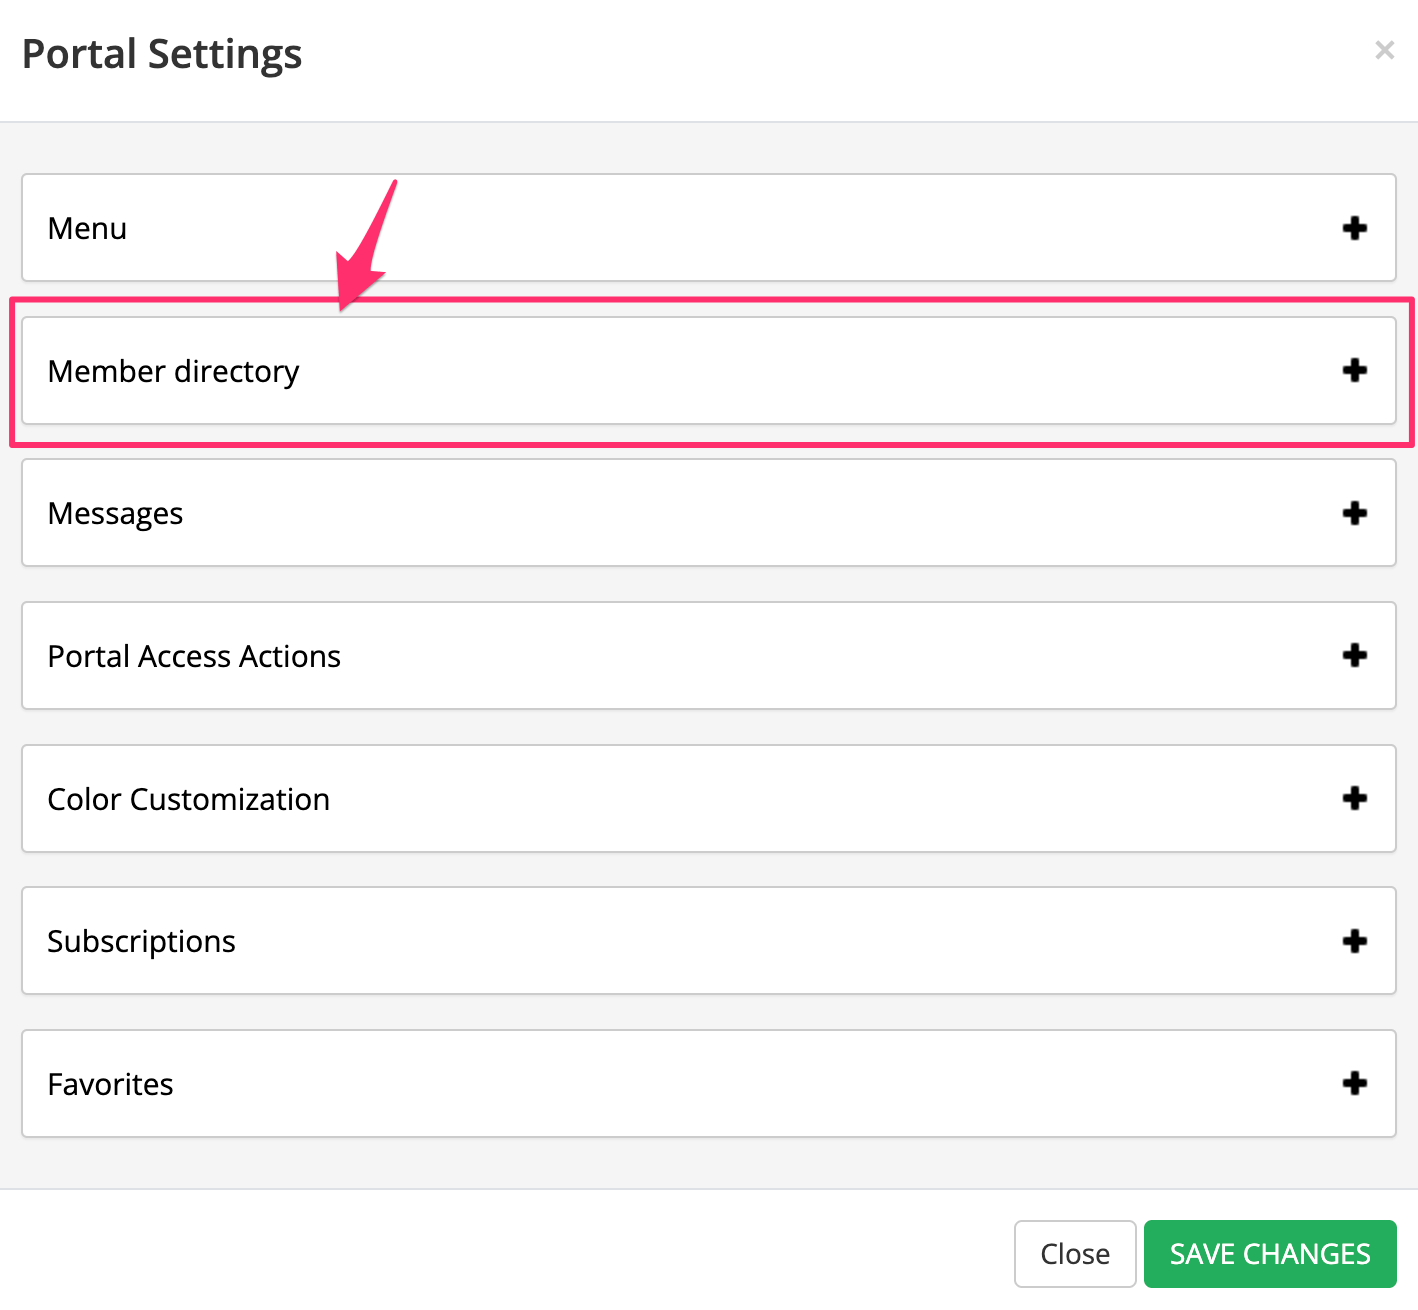
- The Portal Settings pop up window will appear.
- Click on the Member directory.
- To enable the Member directory, simply switch the toggle ON.

- To restrict the access, you may also enable the Give access to members directory only if member has access to:
From the drop-down, you may select specific course and then click on the +Add button.
Members who only have access to the course selected will be able to access the members directory and add their details.
- Once done, click on SAVE CHANGES.
- Once enabled, the Members will now be available.
To access it, go to your Membership Portal and click on the Directory icon.
All of your members will also see the new option on their own Avatars.
- Upon clicking, the Members Directory pop up window will appear.
If the list is empty, it means that none of your members accepted to be listed yet.
- When you click on the ellipsis or 3 vertical dots in the right side, it will show some links if enabled such as:
Website
Instagram
Twitter
YouTube
Facebook
Tik Tok
LinkedIn
Message For more information, please check this article.
How to be Listed to the Member Directory
Once you have switched the Enable member directory to ON, the option Add members automatically to the directory will be available, and this can be switched to ON/OFF.
This feature will allow Admin to automatically add new members to the member directory upon registration by default (ON) or not (OFF). 
Members and admins can manually add or remove their names from the member directory list.
For Members:
- Login to your Membership Site.
Click on your Avatar and then select Profile.
- The Profile settings will pop up.
Toggle List on Members Directory to ON.
Once done, click Update Profile.
For Admins:
- Go to Settings and then select Admin Users.
Edit admin and scroll down to look for Manage User Permissions.
Click on it and then scroll down further to look for Admin.
Make sure that the List on Members Directory toggle is ON and SAVE CHANGES. - Once the List on Member Directory is done, your profile name will appear on the list.

When admins or other members click on your profile in the Member Directory, they can send you a private message.

Restrictions (only show the content of the member directory if they have access to a specific course)
You can limit the access to the Members Directory and see who can add their details to the directory.
- Once you have enabled the member directory in the Course Portal Settings, you will get the option to Give access to directory only if member has access to:
- To limit access to the members directory, simply select specific course from the drop-down and then click on the +Add button.
Members who only have access to the course selected will be able to access the members directory and add their details. - Click SAVE CHANGES.
How to link Members Directory to a Button or Image
Add a Button or Image block to your Course Pages, then link to your Members Directory.
Once the Button or Image is clicked, the Members Directory popup will appear.
- Add or click the Button or Image block in the page preview.
- In the left sidebar panel, go to Link.
Click the link drop down menu.
At the bottom of the list, under Other, select Open Members Directory.

- Click SAVE.