
To Create a New Blog Post
- Go to Blog in the left-sidebar menu of your site.
- In the Blog dashboard, click on the Plus icon (+) on the upper right hand corner.
The Add New Post pop up window will appear.
- In the Add New Post pop up window, add a name to your new blog post.
Once done, click on SAVE.
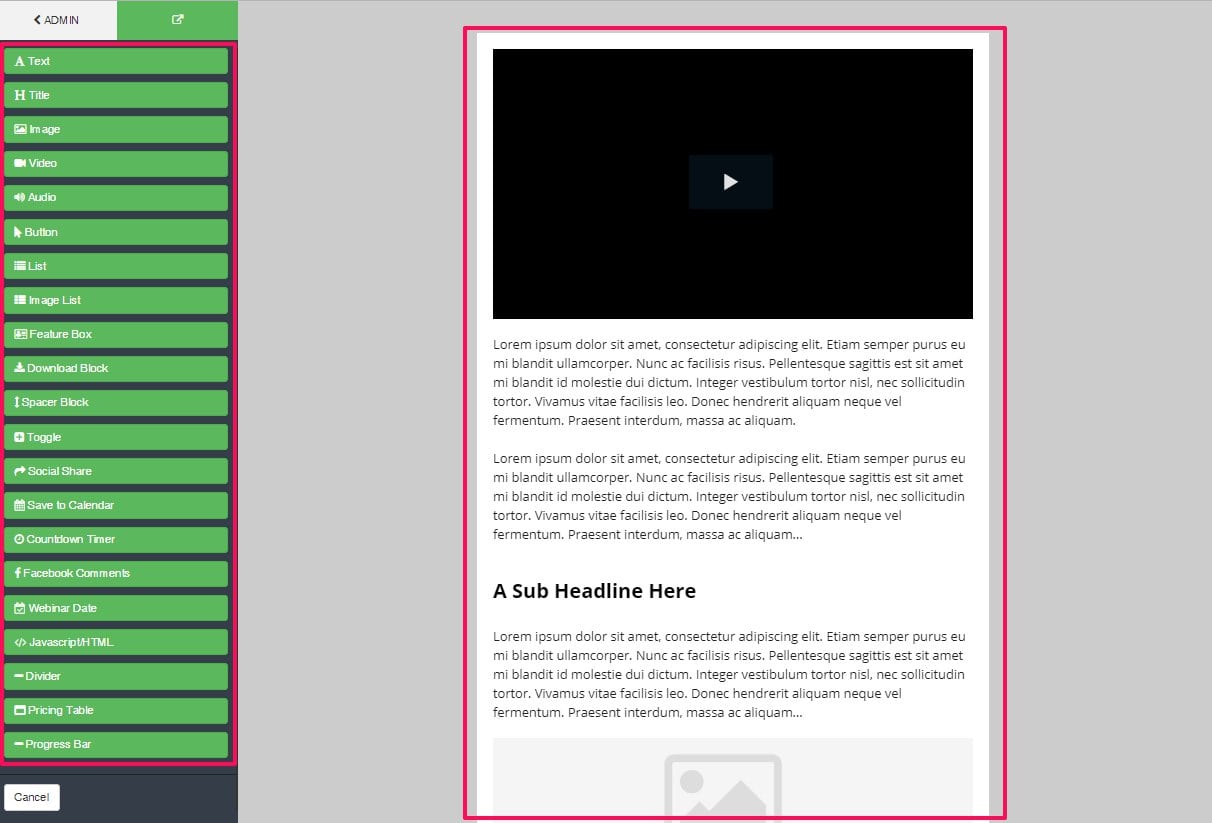
- Your new blog post will launch to the page editor.
- You may customize your blog post using the basic page elements such as Text Block, Title Block, Image Block, Video Block, Audio Block, List Block, etc.
IMPORTANT: You cannot add Sections or Rows on the Blog Post page editor.
Page Options
This is where you control the basic page settings for your blog page. 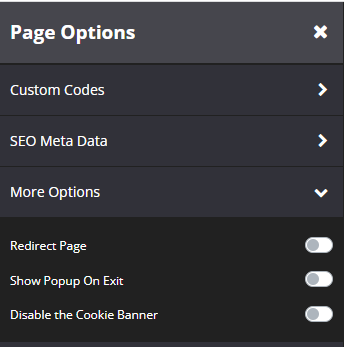
- Custom Codes
Add codes here. e.g. Facebook pixel, Google Analytics, etc. - SEO Meta Data
To include Meta Tag details for your public pages.
For in-depth instructions, proceed here. - Redirect Page
Enabling the Redirect Page will allow you to redirect users to the page selected in the first drop-down menu.
You may also set the delay speed of the redirect as well as the add users to your Audience upon redirect. - Show Popup On Exit
This feature triggers your Form Popup or Audience and Form popup as your customers move away from your Blog post (either to the Exit button or other tabs in open browser). This is particularly handy if you want to give customers a convenient way to optin to your special offer. - Disable the Cookie Banner
If you have enabled to display a cookie banner at the bottom of all your website pages that you use for privacy regulations, this will allow you to disable the cookie banner on a specific page.
Post Options
This is where you control the basic settings for your blog post.

- Post Category
Select from the drop-down menu the category where you want your blog post to be included.
By default, there are 2 categories available: uncategorized and blog.
If blog is selected as the category name, then the URL will be domain/blog/xyzxyz
If uncategorized is selected, then the URL will be domain/uncategorized/xyzxyz - Post Description
Add a description to your blog post.
This will display on your Blog Home page and Category page. - Post Author
Add the name of the author to your blog post. - Post Date
Select the date, time, and timezone you want to publish your blog post.
If you pick a date in the past, the post will be displayed instantly.
If you pick a date in the future, the blog post will be scheduled to be published on that particular date. - Post Feature Image
Add a post feature image to your blog post. This will display on your Blog Home page and Category page.
You may add a new image from your computer using the Select from gallery or select an existing image from your Image Gallery by clicking the Browse button. - Post Secondary Categories
If you want your Blog post to appear in multiple categories, just select the category or categories on the list.
To customize the Blog Post Template, please click here.
Once done, click SAVE.
Publish Your New Blog Post
- Click Admin to return to your Blog dashboard and you will see your latest created blog post on the top of the list.
By default, Publish button is set to OFF.
Click it to toggle to ON, and this will display the blog post on your Blog Home page.
- Blog posts now have 2 statuses: Published and Scheduled.
+ Scheduled posts – will be published on the date selected under Post Options on the blog post.
+ Published posts – are already visible on your blog.