Post Template is where you can customize the template for your blog post.
Customizing your Blog Post Template Page
- In the Blog dashboard, click on the ellipsis or 3 dots (…) on the upper right hand corner then select Post Template.

- You may now customize your Post Template using our advanced page builder just like any of your KLEQ pages however, you CANNOT DELETE or DUPLICATE the block where the latest blog posts will be displayed.

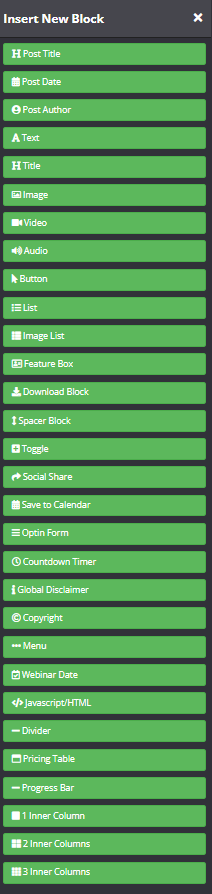
These are the available blocks that you can add in the Post Template page builder:
Post Template Settings
In the left sidebar panel, you will have access on the settings available for your Post Template page.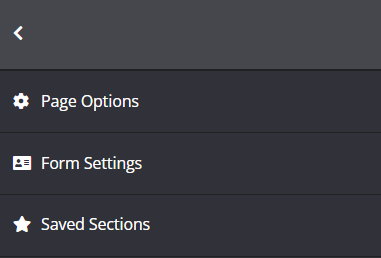
Page Options
This is where you control the basic settings for your page template e.g. 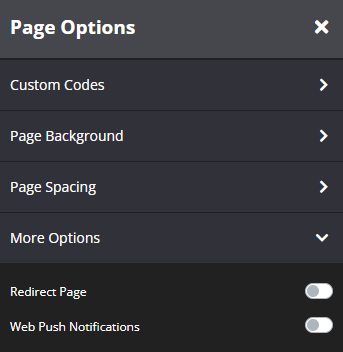
- Custom Codes
Add codes here. e.g. Facebook pixel, Google Analytics, etc. - Page Background
Customize your course page’s background. You can upload an image from your computer or site’s Image Gallery or use a plain color as your background. - Page Spacing
You can add padding around your section so that there is additional space. Simply add the numeric (pixel) value to the Top and Bottom padding field provided.
More Options
- Redirect Page
If you want to instantly redirect users trying to visit your page, enable this option.
For in-depth instructions, proceed here. - Web Push Notifications
This will enable the option to accept notifications on your Blog Home page.
For in-depth instructions, proceed here.
Form Settings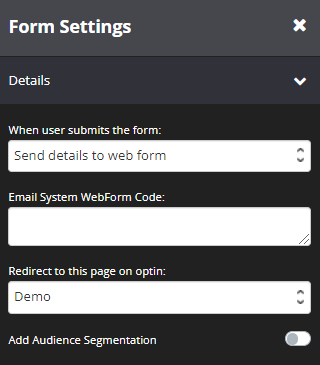
The Form Settings will allow you to setup Optin for your Post Template page, this is very useful if you want to build your audience.
In Form Settings, you can select how you want to send the details to your email system. Remember you can go fast by integrating your email system and simply adding a tag. Alternatively, if your email system is not one of the systems that we deeply integrate with then you can always add a web form code from your system.
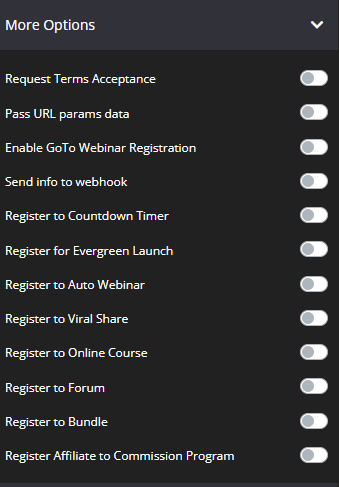
(Optional) Select the relevant additional settings for your form from the left-sidebar menu e.g. Register to Online Course, Register to Viral Share, Register to Evergreen Launch etc.
For in-depth instructions regarding Form Settings, proceed here.
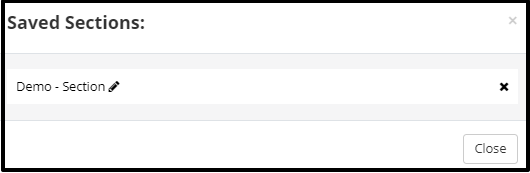
Saved Sections
Once clicked, this will open the Saved Sections pop up window.
For more information, please check How to Save a Section as Favorite