
This feature allows you to create Course Groups for your Membership Site and assign courses to them. You will be able to display courses to your portal pages based on specific categories.
To Get Started:
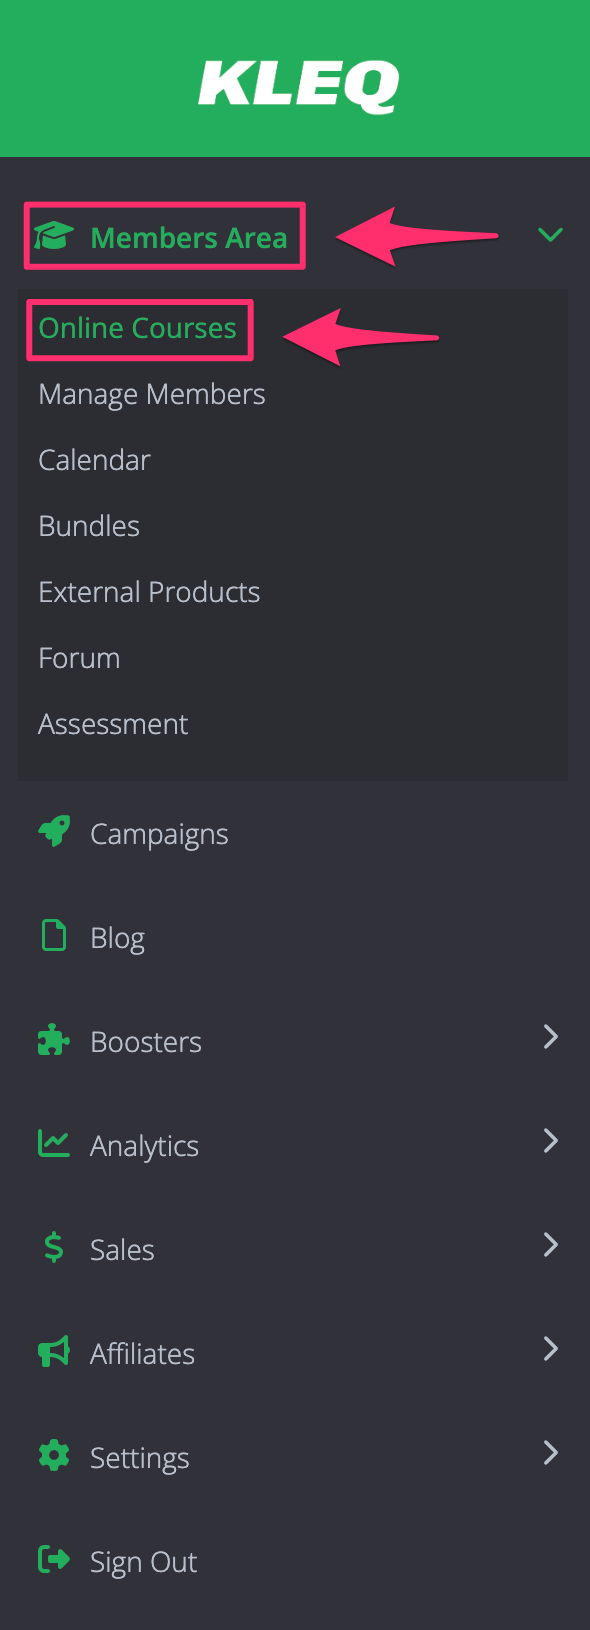
- Go to Members Area and then select Online Courses in the left sidebar menu.
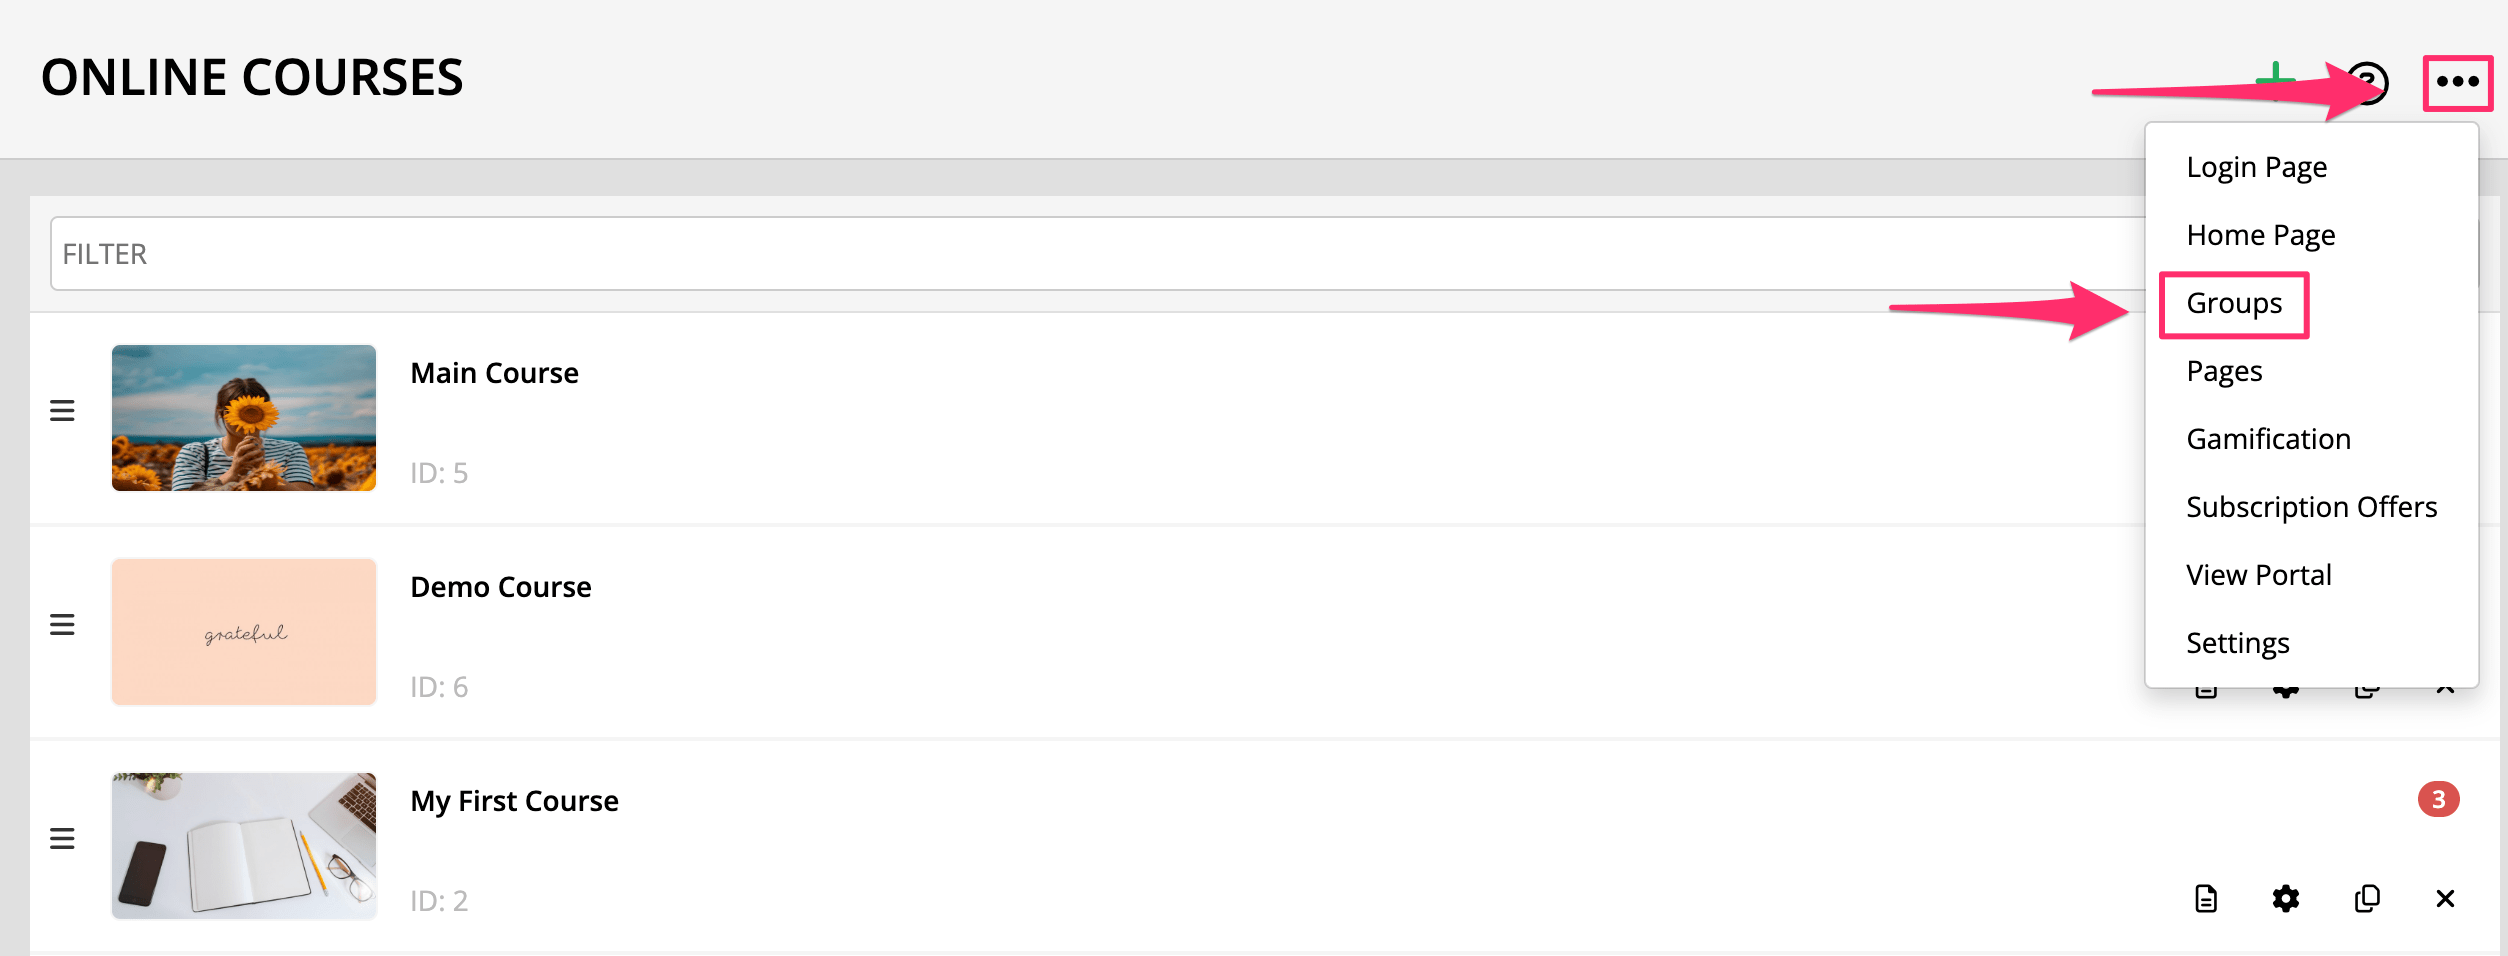
- Click the ellipsis (…) in the top right corner then select the Groups.
- In the Groups pop window, click +Add New Group.

- Then, add a name to your new Group, and your preferred Group Color.
Once done, click +Add button.

- Your new Group will appear below.
Lastly, ensure to click SAVE CHANGES.

Add Courses to your Course Group
- In the Online Courses screen, click Settings of the course you want to add.

- At the bottom of the Course Settings window, click on the More Options, then select the group from Assign to group drop-down menu.

- Once done, click on SAVE CHANGES.
- Back in the Online Courses dashboard, the course’s Group will be indicated in the upper right corner of the course tab.

Filter the courses by group title
- The filter option will filter the list of courses and will look at course title, group title, course description and course keywords in the course settings.

- To filter the course by group, simply type in the group title.

Add Forum to your Course Group
- In the Forum dashboard. Click on the ellipsis (…) at the top right corner then click Forum Settings.

- The Forum Settings popup will appear.
Select the group you want to include your Forum to in the Assign to group option.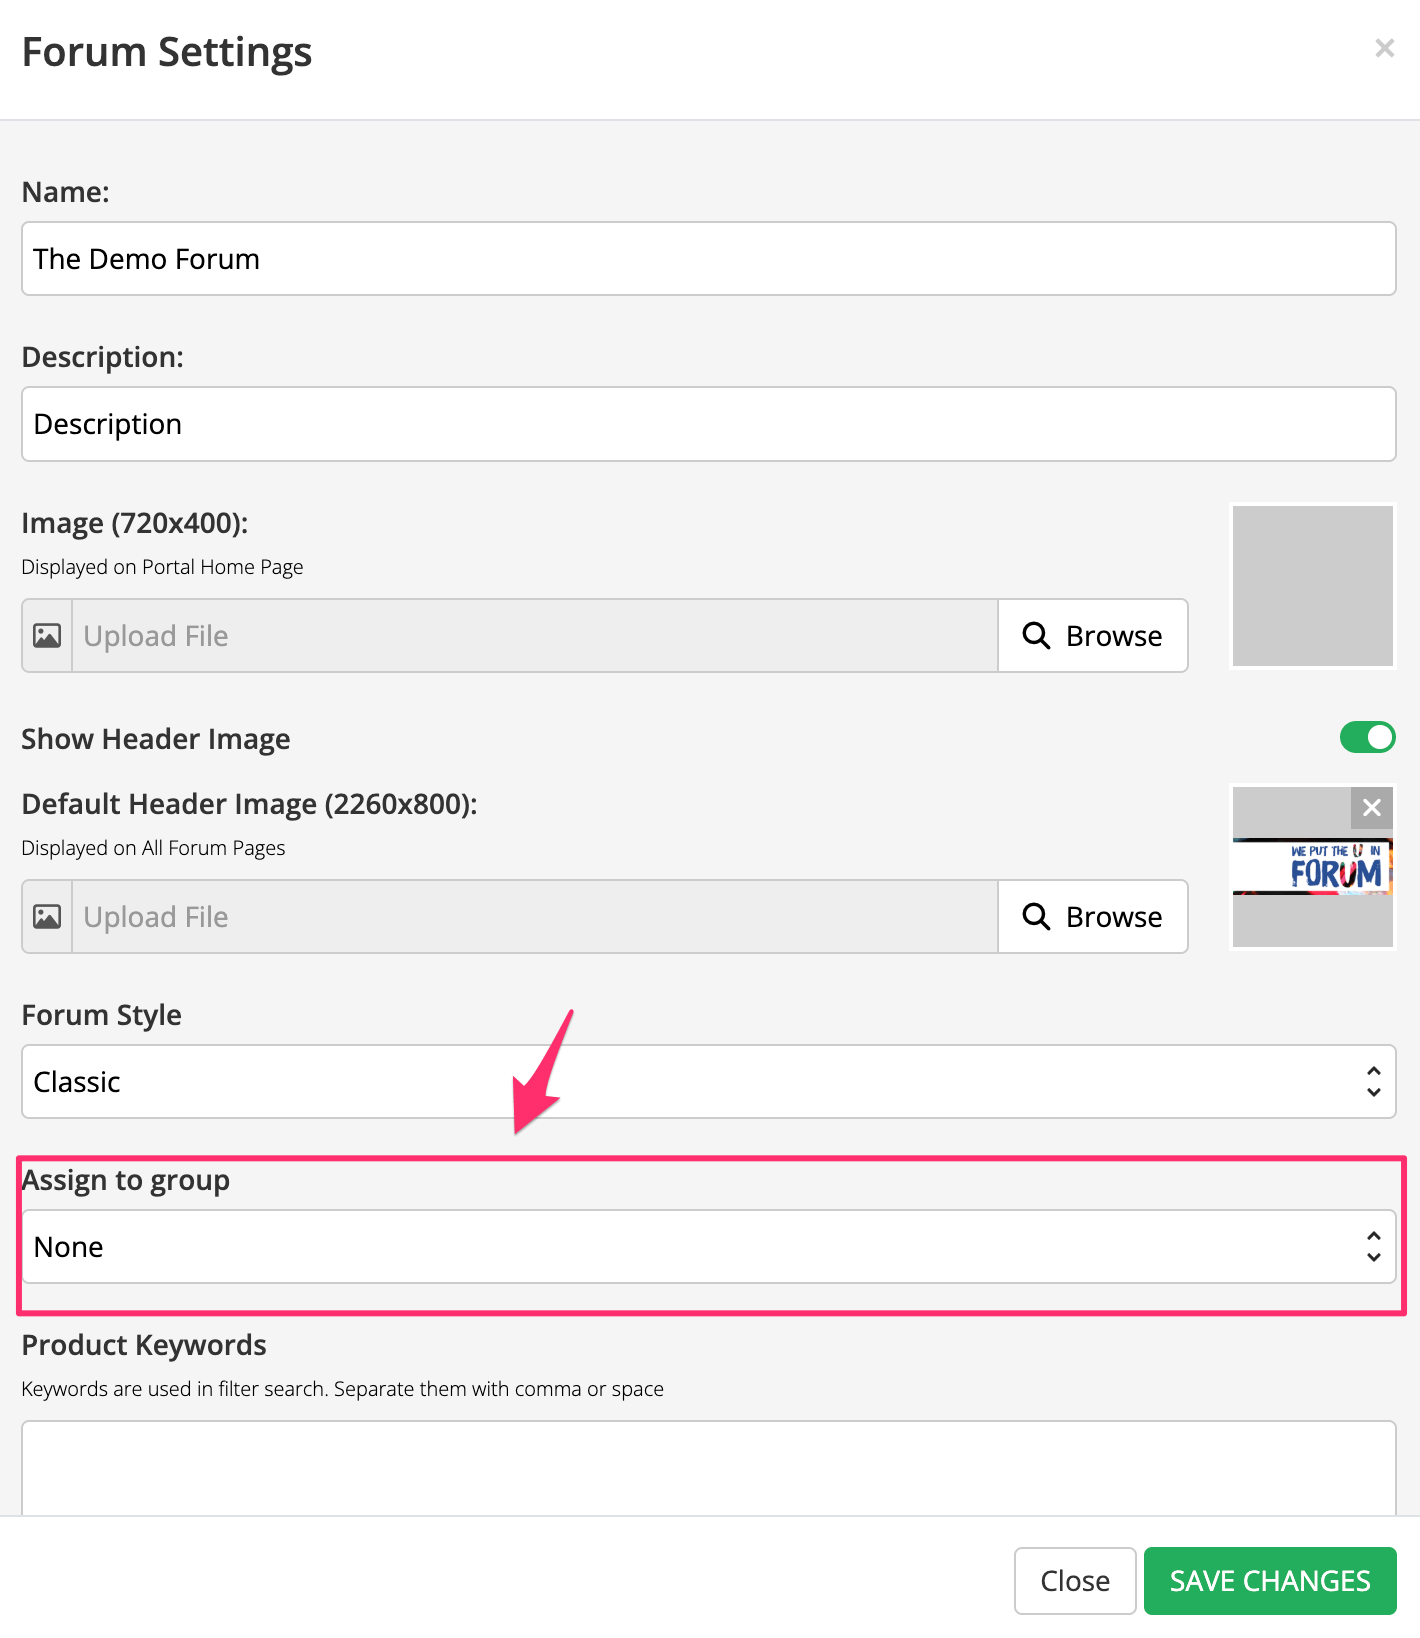
- Once done, click on SAVE CHANGES.
Your forum is now added to a Group.