
Now that you’ve set up your Stripe Order or Upsell page, we recommend doing some test purchases. This is to make sure that your Stripe Integration is working properly.
Enable Test Mode
- Edit the relevant order page and then select Payment Settings.

- Scroll down to More Options.
- Switch ON the Enable Test Mode and then click SAVE.

Setup the Payment Settings
- Go to the Stripe Order Page you want to test.
- Go to Payment Settings, and setup the product.

Test your Purchase
- Launch the preview of your Order page.

- You will get a warning message on top of the order page which says that you have enabled the Test mode.
This will also serves as a reminder so you won’t forget to disable it in the Settings.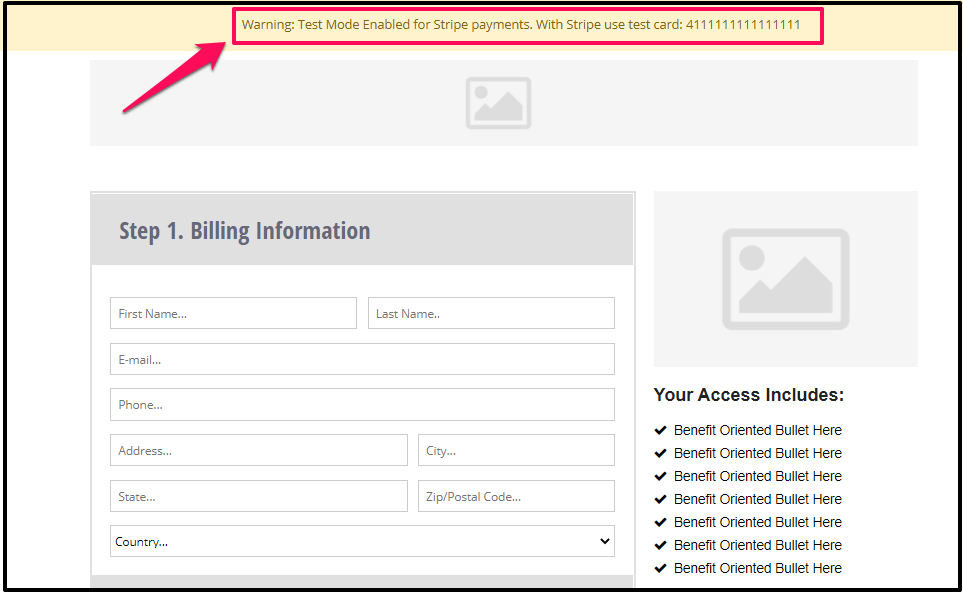
- Complete the information in Step 1. Billing Information.
Note: you can use random information in these fields.
- In Step 2. Payment Information, add a test card number in CC Number field.
NB! You can get a test card number in the Stripe Testing page.
- Select a future date as Expiration Date

- Add a random 3-digit number in CVC field.
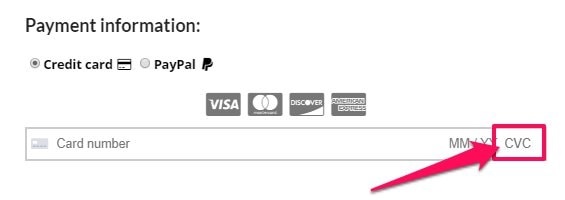
- Click the Order button.

- If the test purchase is successful, you will be redirected to the next page.
Verify the Test
- Sign in to your Stripe Account
- On the left sidebar menu, click Payment.

- Click View Test Data at the bottom.

- If the purchases integrated properly, you will see your test purchases screen.

Related Articles
Integrating Stripe with your website
How to add Terms Acceptance to your Order Pages