
The Optin Form Block allows you to add an inline Optin Form to any Campaign page.
To add an Optin Form Block:
- To add this block element to your page, in the right-hand Preview Pane, mouse-over the area where you want to add your optin form.
- Click on the black Plus (+) icon above where you want the block added.
- Various Block options will appear in the left-sidebar menu, select the Optin Form.
The Optin Form Block will now appear in your campaign page.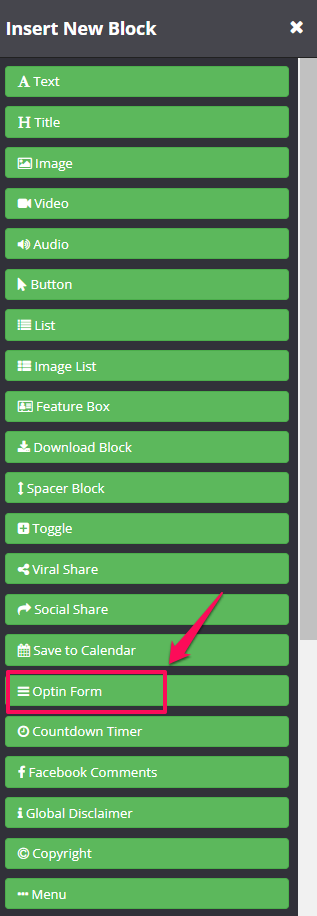
In the left-sidebar menu the Block settings tools will appear, which will allow you to format how your optin form will appear on the page.
For an overview of these setting, simply go to Optin Form Block Settings

If you want to add subscriber’s extra information (last name and phone) to ConvertKit, you need to go to Settings > Integrations > Convertkit and select custom fields for last name and phone.
Works on the ff:
InfusionSoft
Active Campaign
Ontraport
Drip
Mailchimp
AWeber
How to setup your Optin Form
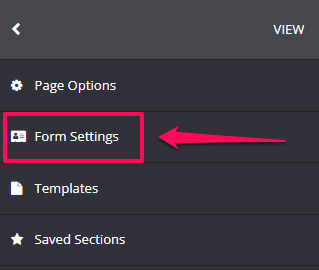
- Once you are done with the format of your optin form, next you will need to configure the optin form itself. To do this exit the Block settings section in the left-sidebar menu and then click on Form Settings in the next screen.
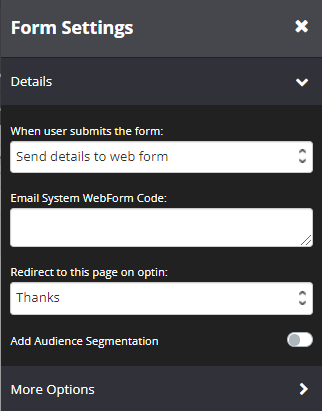
- In the next screen, under When user submits the form drop-down, select the relevant Email system you have integrated with your KLEQ site. We have deep integration with Ontraport, Infusionsoft, Active Campaign, ConvertKit and Drip.
- Once selected, choose the relevant tag you want applied when your customers optin.
- If you use another email system that we do not have deep integration with, you can choose the Send Details to web form option instead and then simply add the web form code from your system in the field provided.
- Under Redirect to this page on optin select the page you would like to redirect your customer to once they have opted in.
- Add Audience Segmentation

If you are using an Audience booster, you may assign people to different groups.
When you enable this feature, simply select the Audience from the drop-down.
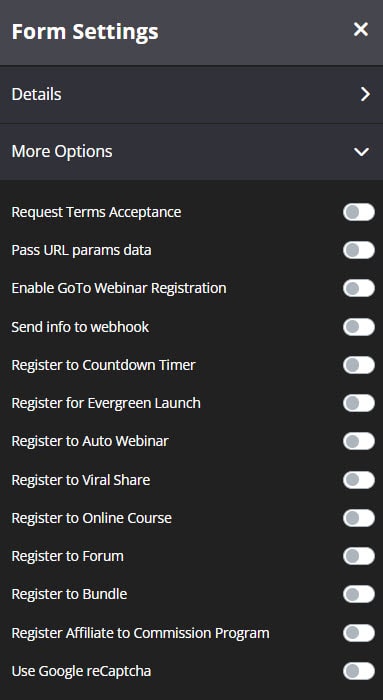
When they opt in, you can redirect them to different pages based on the audience group they belong to. - If there is any additional functionality or automation needed for your optin form, simply select the relevant feature and complete the additional settings provided under More Options.
Once done, click on SAVE and your Optin Form Block is ready!
Once a user registered through your Optin Form block, their email will be registered to the your Emailing system and in the boosters you added on your Optin page.