
Editing Your Template Settings
Once you have the Campaign page open, in the left-sidebar menu, you will find all the settings for your page template.

Page Options
This is where you control the background and other basic settings for your page template e.g.
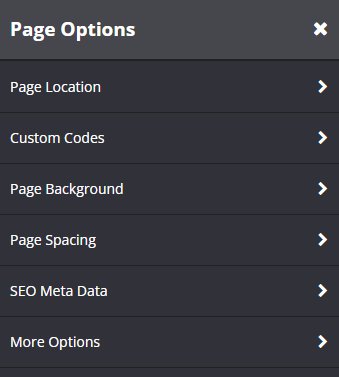
- Page Location
Change the Campaign the page is linked to - Custom Codes
Add custom codes on your page Header, Footer and After Body Tag Code.
You may also enable Add Audience Segmentation.
For more Audience Segmentation information, click here. - Page Background
Adjust your page’s background settings. - Page Spacing
Adjust your page’s top and/or bottom padding. - SEO Meta Data
Add or adjust your SEO Meta Data.
For more SEO Meta Data information, click here. - More Options
+ Use Default Toggle Image
+Redirect Page
+ Use The Guardian
+ Add to Sitemap
+ Enable Social Notifier
+ Enable Member Access Only
+ Access Based On A Tag
+ Web Push Notifications
+ Page Landing Action
+ Show Popup On Landing
+ Show Popup On Exit
+ Disable the Cookie Banner
Form Settings (the heart of KLEQ)
This is where you control what actions take place when a user submits a form.
Form Settings is available on the following campaign pages:
+ Optin Pages
+ Launch Pages
+ Sales Pages
+ Special Pages – Confirm Email & Privacy Policy
+ Thank You Pages
+ Website Pages

Details
- When user submits the form perform this action
Here you may set your favorite emailing system, such as Infusionsoft (Keap), ActiveCampaign, Convertkit, AWeber, Drip, etc, or add the email system webform code.
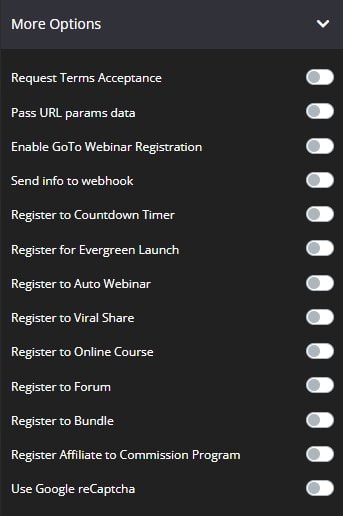
More Options
Here you may enable certain optin options such as:
+ Request Terms Acceptance
+ Pass URL params data
+ Enable GoTo Webinar Registration
+ Send form info to webhook
+ Register to Countdown Timer
+ Register for Evergreen Launch
+ Register to Auto Webinar
+ Register to Audience
+ Register to Viral Share
+ Register to Online Course
+ Register to Forum
+ Register to Bundle
+ Register Affiliate to Commission Program
+ Use Google reCaptcha
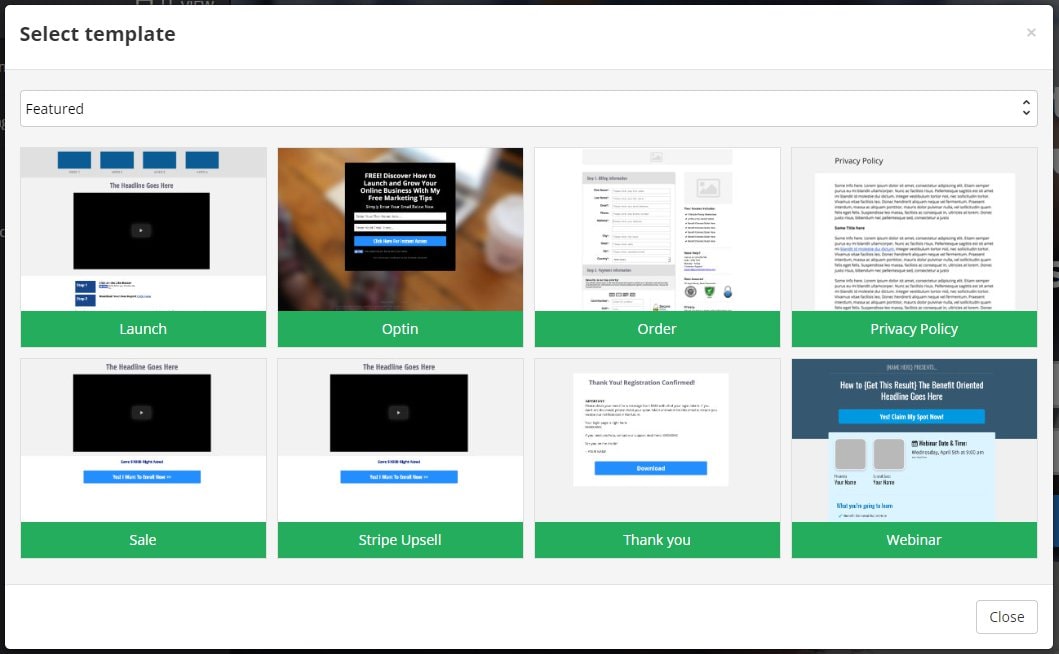
Templates
Once clicked, this will open a pop up window that will allow you to select a page template.
For more details, please check Adding Pages to your Campaign
E.g. if you change the page type from Optin Page to Order Page, all contents on your Order Page will not be applied to the new Order Page.
To get the previous customized Optin Page and all its contents, just select the page type and exact template, e.g. Optin 001
Saved Sections
Once clicked, this will open the Saved Sections pop up window.
For more information, please check How to Save a Section as Favorite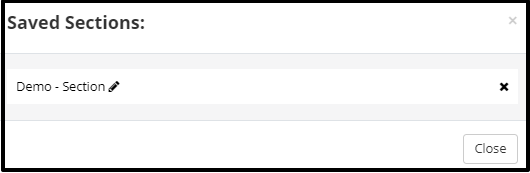
Editing your Campaign Page Layout
In the right Preview Pane, you will find the basic layout for your Campaign Page.
Every element in a Campaign page is customizable. When you mouse-over the different page elements, color-coded borders appear to help you identify which layer you are working on.
Watch the video below for a detailed overview of how this works.
Why some Page templates don’t have the Page Builder
As you work through the page templates, you will note that some of them only have basic editing capability, while others include the page builder with full-page customization tools.
The reason for this is, certain campaign pages (e.g. order pages, one question survey, webinars, etc) have special functionality and work in a specific way. This limits the amount of customization that can be done on the page. Going forward, however, there are plans to add the full customization function to templates like the Order pages.
Related Articles
Working with Sections
Working with Rows
Working with Blocks: Campaign Pages