Course members can setup Social Avatars for themselves when interacting on either the Social Wall or the Private Chat pages of a course.
To Do This:
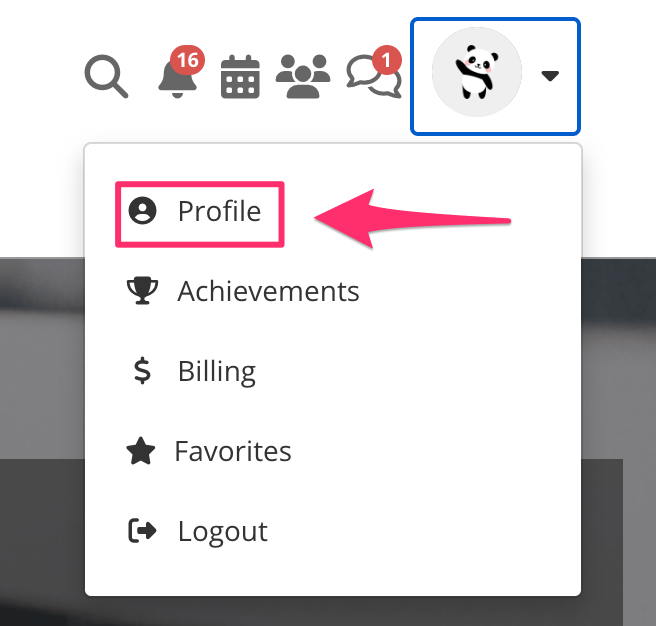
- They can simply click on their Avatar icon in the top-right corner of the dashboard.
- Then select Profile from the drop-down menu.

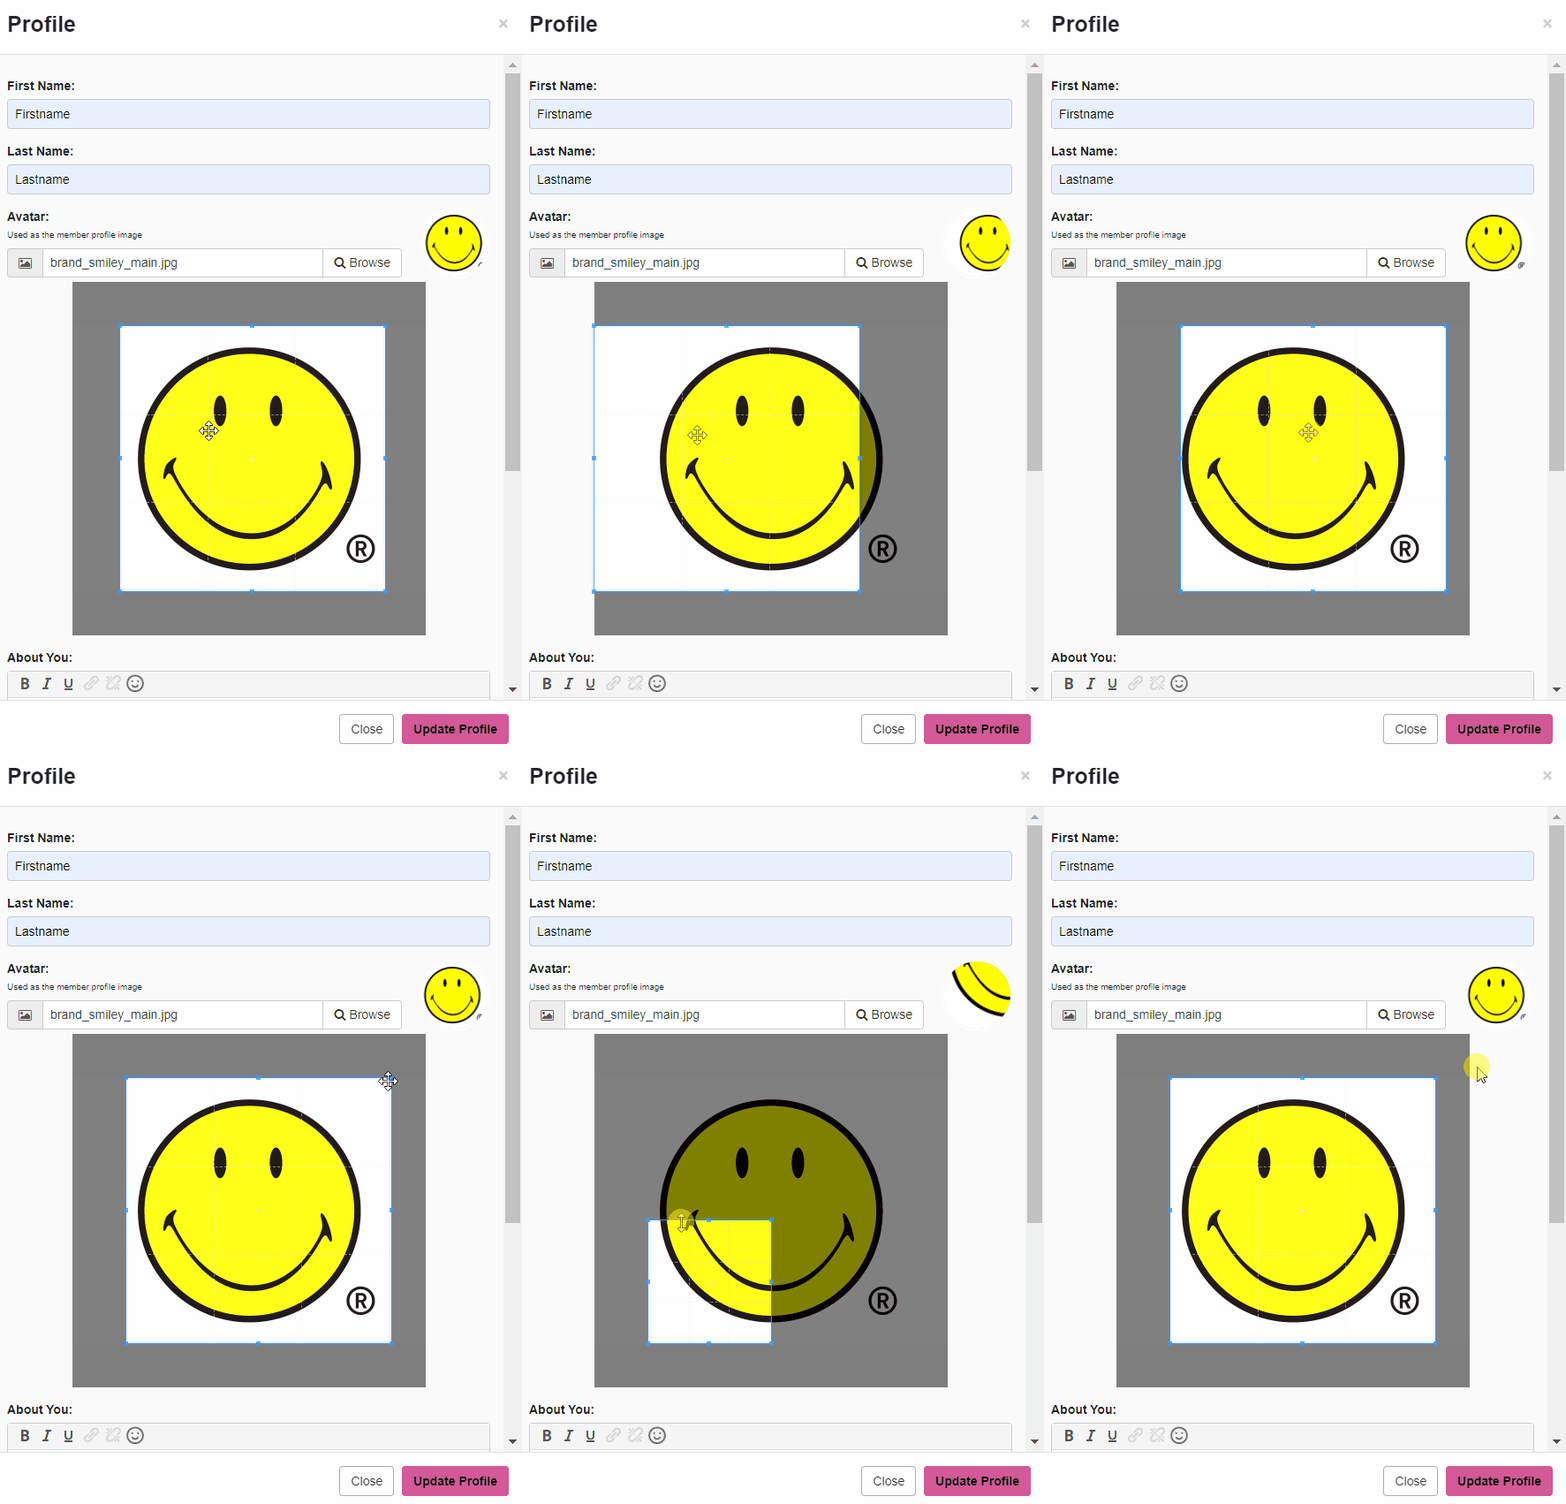
A pop-up will appear with their Profile settings. - Under Avatar, they can upload an image of themselves
If no image is uploaded, the first initial of the members name (with a colored background) will be used for the Avatar image.

Upon uploading an image, members may resize their Avatar with the resize tool.
During image resize, members will see a preview of the resized avatar at the upper right corner.

- Under About You, they can add a short Bio describing themselves and include a link to additional information.

- Under Forum Signature, they can add messages or text that appear below every single post they create on a forum and include a link to additional information.

- Once done, they can click on Update Profile and their Avatar information will immediately update on the Social Wall, Forum or Private Chat.
- If members want to see the Bio information of another member, they can simply mouse over the other member’s Avatar icon and a pop-up will appear with that members Bio details.
Alerts Feature
The Alerts feature notifies members when there are replies either on the Social Wall or Private Chat pages. When Members / Admin posts a reply or likes a comment, a red notification icon will appear on a member’s Social Avatar.
To view where the Alert is sourced from, members only need to click on the avatar icon.
- On the Notifications section, there will be a red dot.

- Once clicked, the Notifications pop up will appear. This will display who replied, along with the name of the Social Wall or Private Chat where the Member / Admin replied.

- To access that page, members can simply click on the link to the Social Wall or Private Chat and they will be redirected to that page.
