
Funnel Tracker is a feature where you can view the list of funnels created, you can create new funnel, edit, view result, duplicate, and delete.
- Go to Analytics and then Funnel Tracker.

- Click the green plus (+) icon.

- Insert the name of the funnel.
- Select a page and add it to the bottom of the modal like we do for bundle or menu.
- You can move the page and change the order.
- Each page added will have a number, with 1 being the first page of the funnel
- Once the changes are saved, the funnel is created and will appear on the Funnel Tracker dashboard.

You can click on the results button. Once clicked, modal opens with the name of the funnel on top and then the pages of the funnel listed. 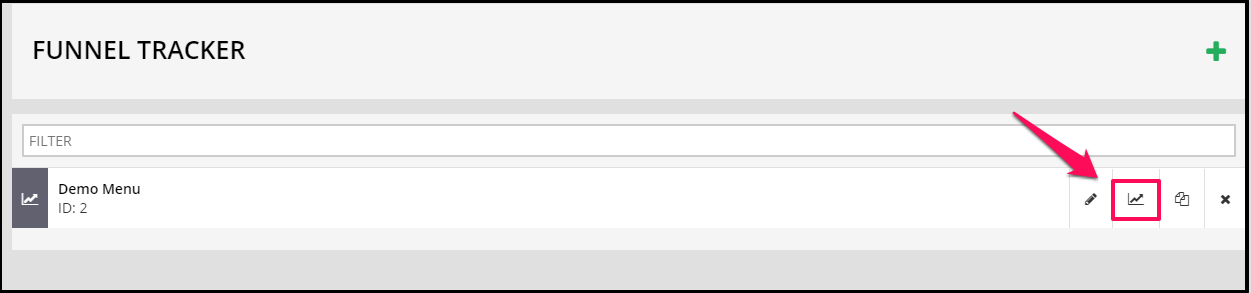
Default time is last 7 days but you can change the date in the drop down and select different date like similar to other analytics pages. You will have a selection from Today, Yesterday, Last 7 days, Last 30 days, Last 90 days, All Time and lastly, Custom Period.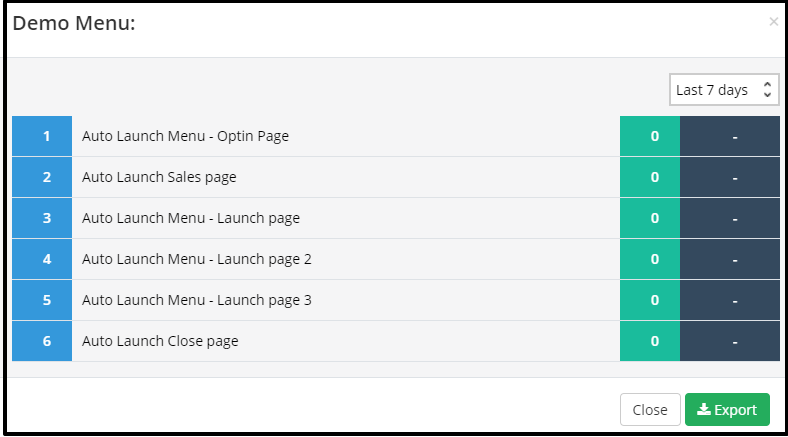
The way it works is as follows:
All unique visits to pages in the funnel are tracked and the results are shown based on where they came from.
If 50 landed on the Optin page then because it is the first page of the funnel then that number is shown
If 100 people landed on the Thank you page but only 20 of them came from the Optin page in the funnel then in unique visits for the thank you page it will say 20 and not 100.
The conversion number takes the next page number divided by current page visit. So it would be 20/50=0.4
So in our example it will look something like this
1 | Optin Page | 50 | 40%
2 | Thank You | 20 | –
You can also export the results and on click a CSV will be downloaded with the following format:
Number | Page Name | Unique Visits | Conversion