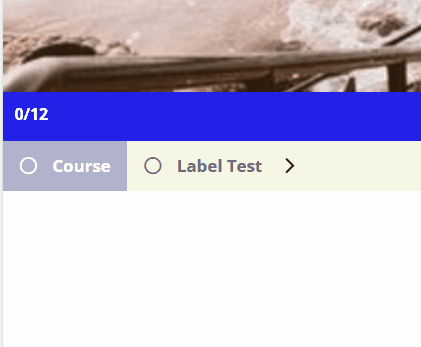
A label is useful for organizing your pages within a course for easy navigation. It’s not a page and is non-clickable in the navigation bar; however, when the user hovers the cursor over the label, the associated pages are displayed.
To Get Started:
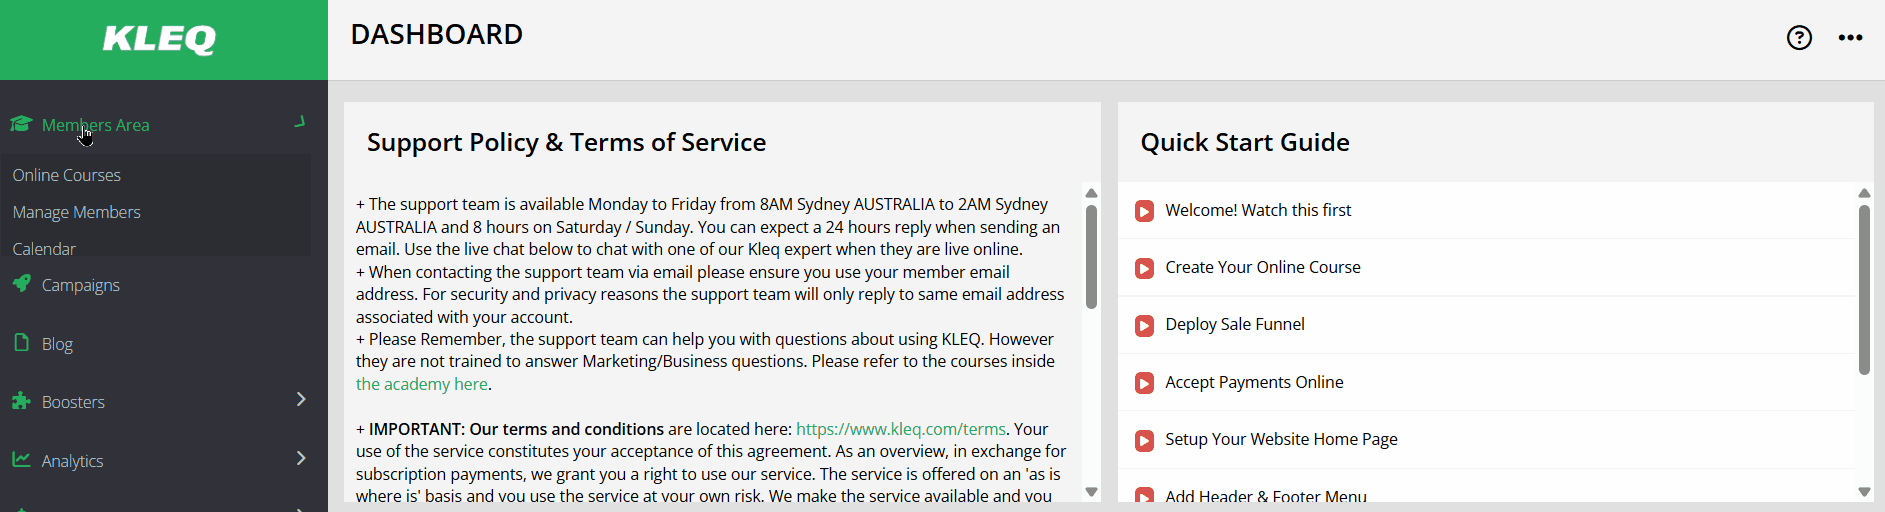
- Navigate to Members Area > Online Courses in the left sidebar menu.

- Then, click the Content button for the online course where you want to add the label.
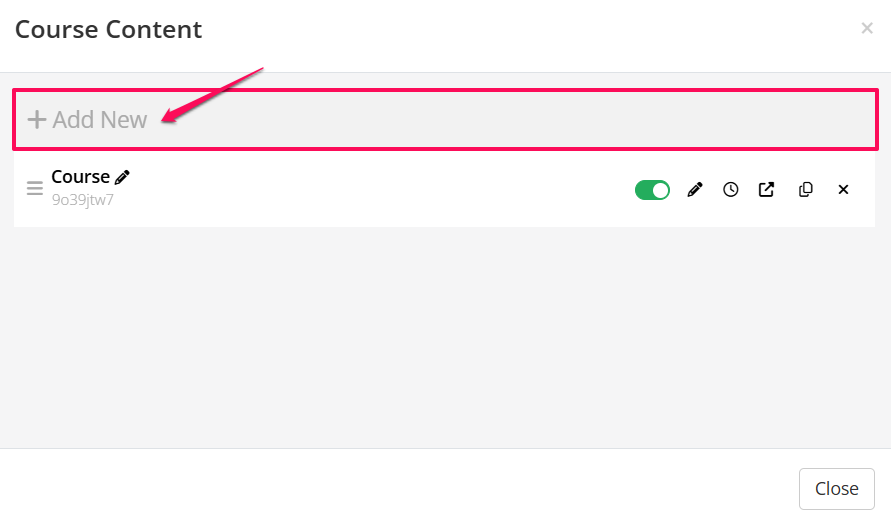
- The Course Content pop-up will open. Click +Add New to add a course content.
- In the course content settings, enter a name for the Label.
In the next dropdown menu, select Label and click +Add.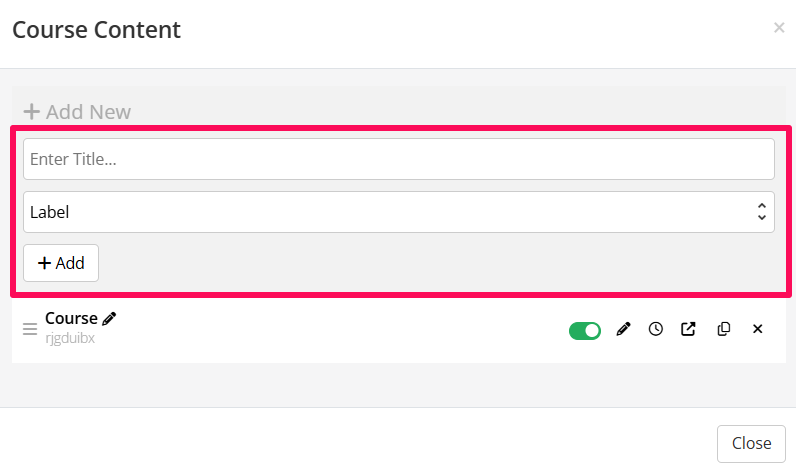
- A new label appears in the Course Content table.
NB! The Publish toggle is OFF by default.
Be sure to set this toggle to ON when you’re ready to publish the label. If the Publish toggle is OFF, the label will not appear in the navigation bar.

- To add content to your label, simply drag and drop a page underneath it. The new page will then become a level 2 item and appear as a sub-menu item in your course’s navigation menu.

In the members area, when the user hovers the cursor over a label, the associated page is displayed. The current page being viewed is also highlighted.
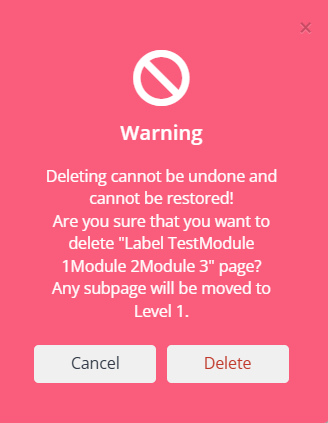
To Delete a Label
- Click the Delete button to delete the label.
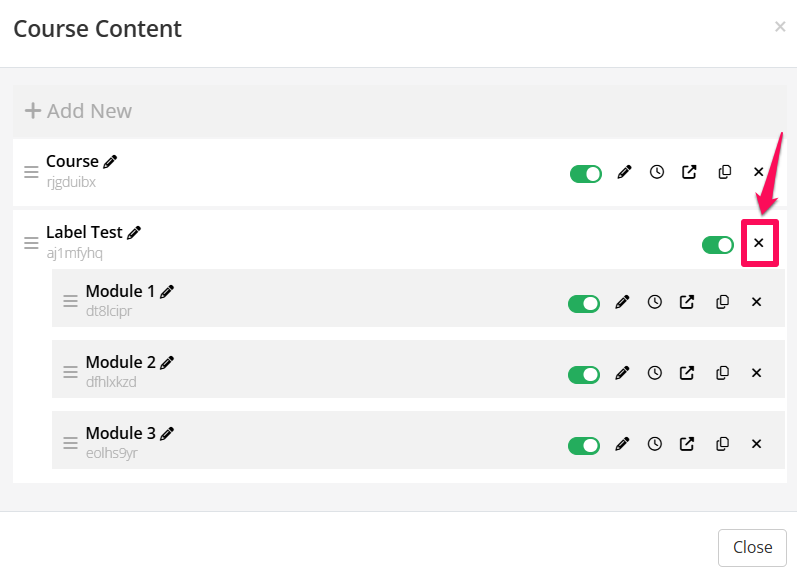
- A red pop-up will appear, warning you that this action can’t be undone and can’t be restored. Deleting the label will also move any associated subpages to Level 1. To continue, simply click Delete.